
 Ancientarchitecture
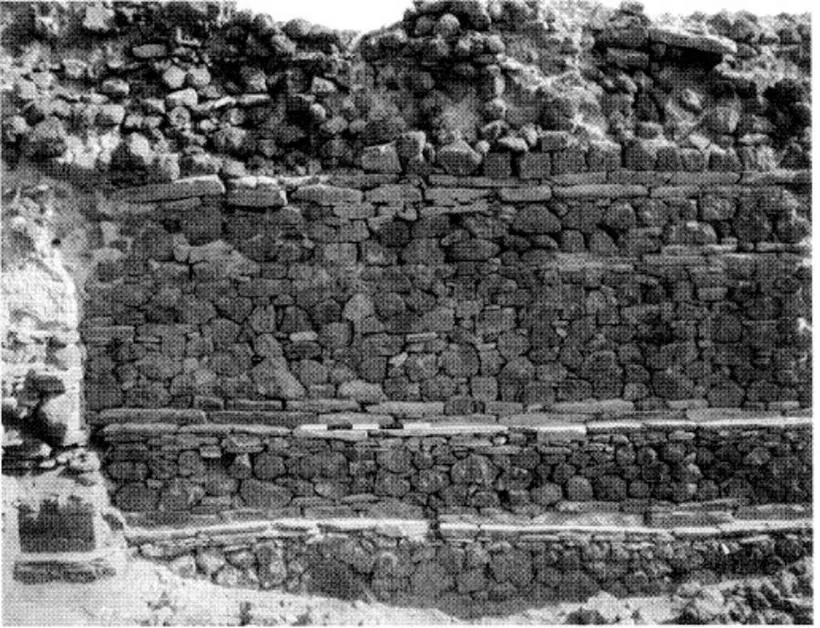
Main Wall in Anfray's Trench, Adulis
View of the main wall exposed in Anfray's trench
- Type
- Architecture & ruins
The Habesha History collection
Buildings, objects and painted pages from Ethiopia and Eritrea.
Collection index
By place
233 records
Northern Red Sea · Eritrea
4 plates
AncientarchitectureView of the main wall exposed in Anfray's trench
 Ancientarchitecture
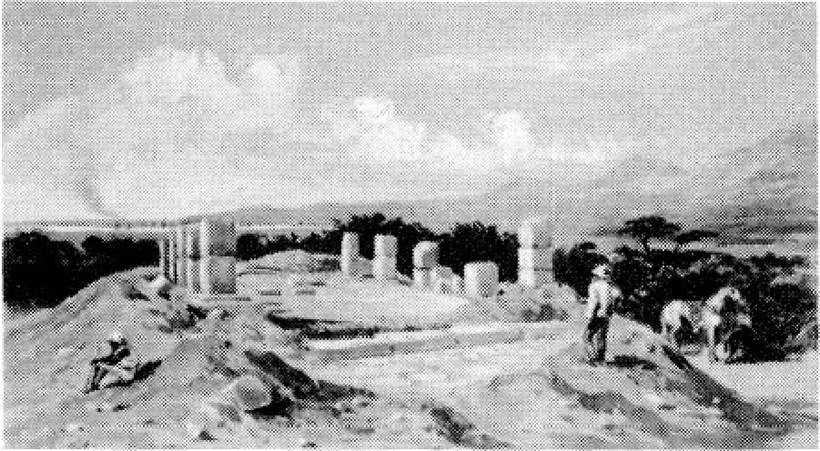
A view of the church during the exacavtion by the British Museum
 Ancientarchitecture
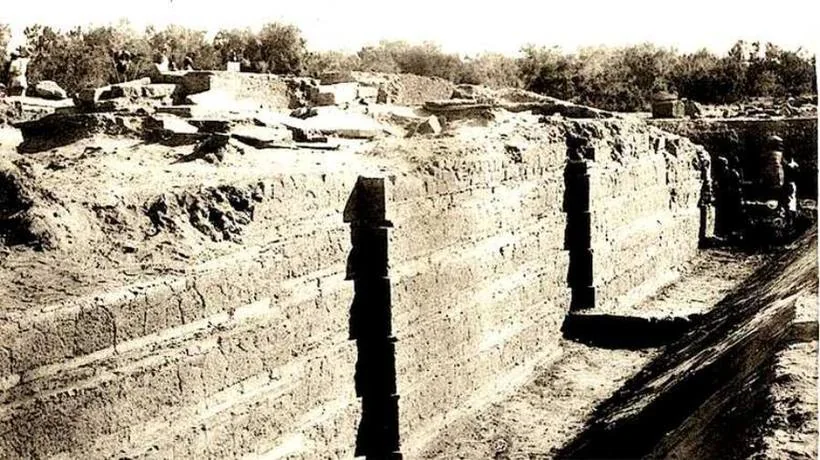
Temple A southern walls excavated by Paribeni. Note the six courses visible. Image reproduced form Paribeni (1907)
 Ancientarchitecture
Tigray · Ethiopia
9 plates
 Ancientarchitecture
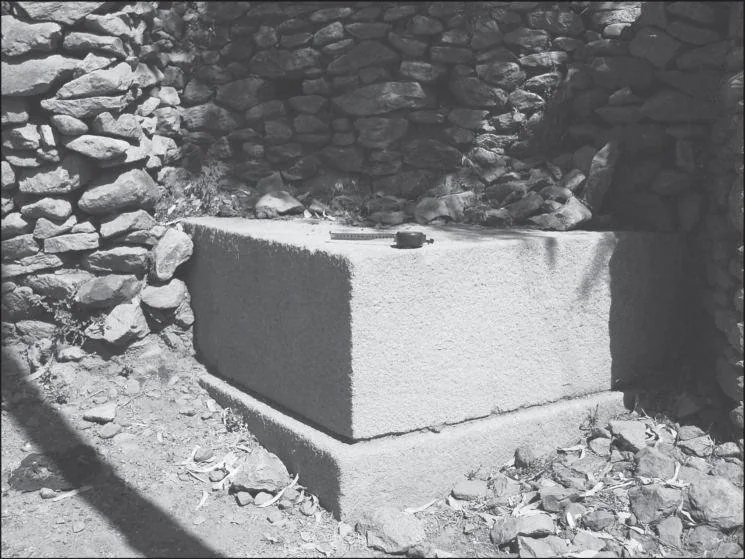
Parts of Aksumite monumental buildings in the city-centre of Aksum; corner-stone of Enda Semeon
 Ancientarchitecture
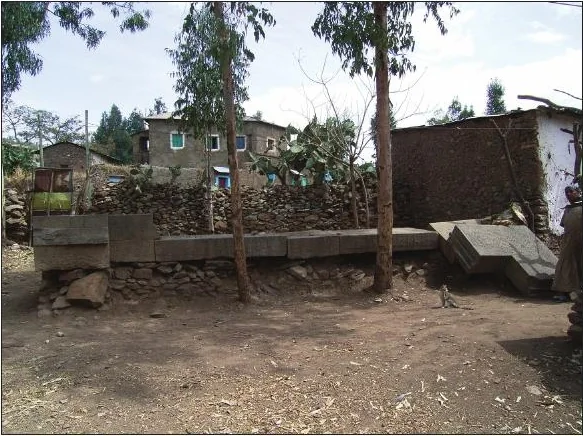
Parts of Aksumite monumental buildings in the city-centre of Aksum; threshold of Takha Maryam.
 Ancientarchitecture
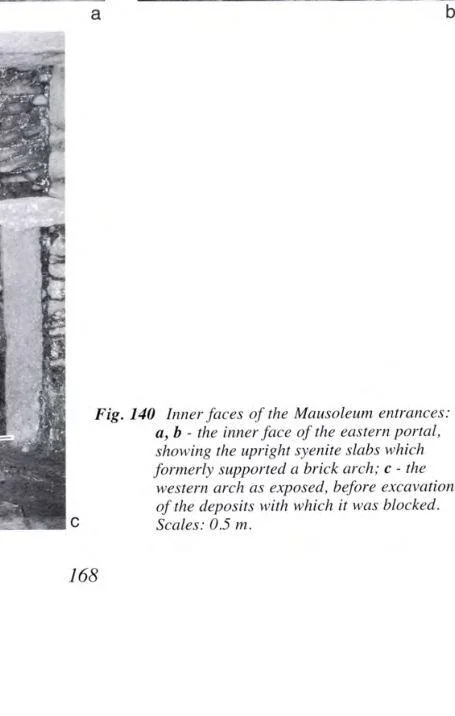
Inner faces of the Mausoleum entrances: a, b - the inner face of the eastern portal, showing the upright syenite slabs which formerly supported a brick arch; c - the western arch as exposed, before excavation of the deposits with which it was blocked.
 Ancientarchitecture
 Ancientarchitecture
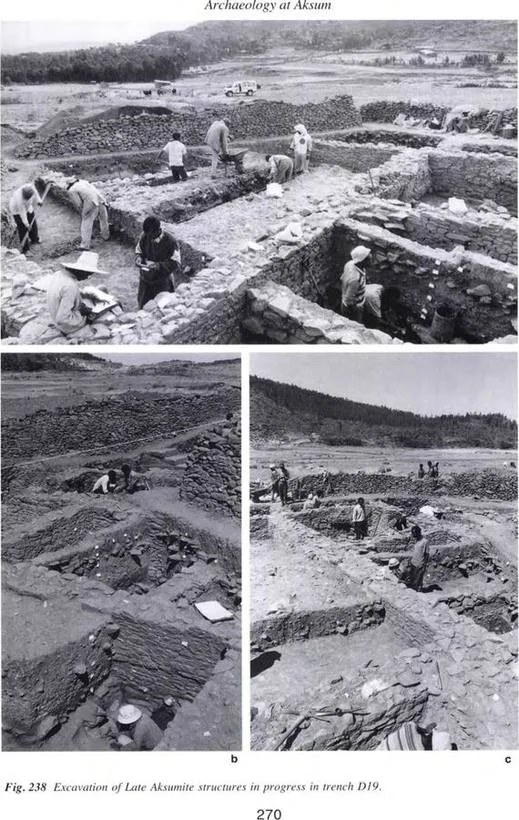
Excavation of Late Aksumite structures in progress in trench DJ9
 Ancientarchitecture
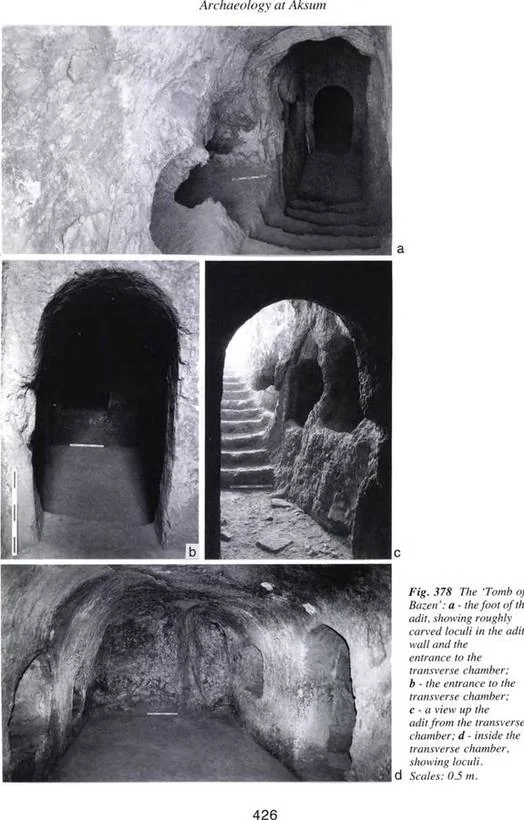
The'Tomb of Bazen': a - the foot of the adit, showing roughly carved loculi in the adit wall and the entrance to the transverse chamber; b - the entrance to the transverse chamber; c - a view up the adit from the transverse chamber; d - inside the transverse chamber, showing loculi
 Ancientarchitecture
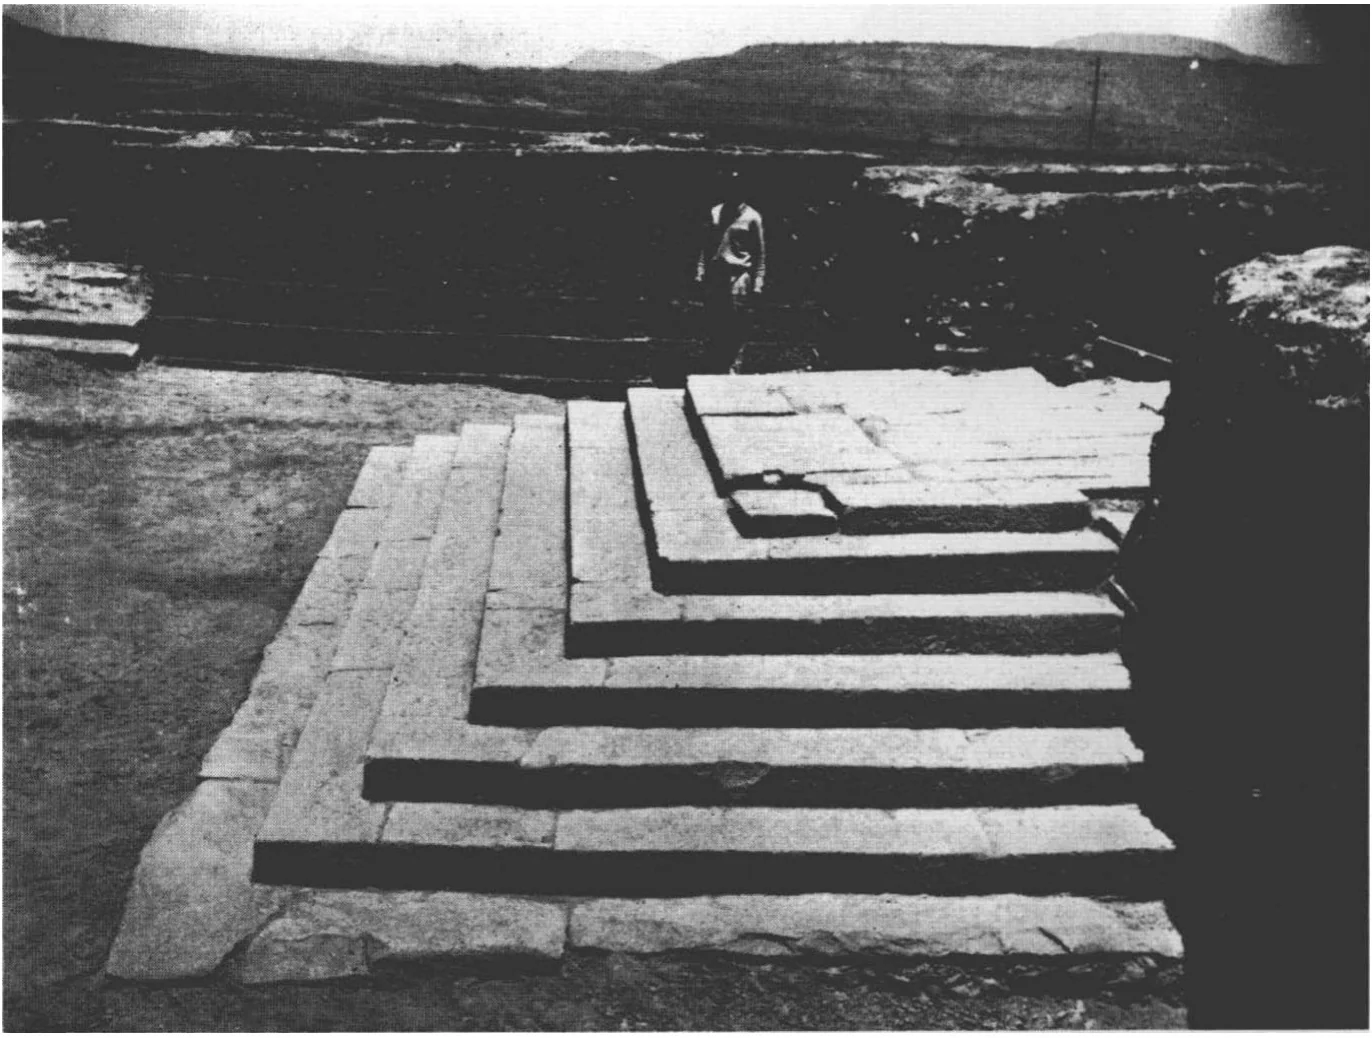
Axoum. Grand escalier du monument A. Fig. 21. Axoum. Façade ouest du bâtiment central, monument A.
 Ancientarchitecture
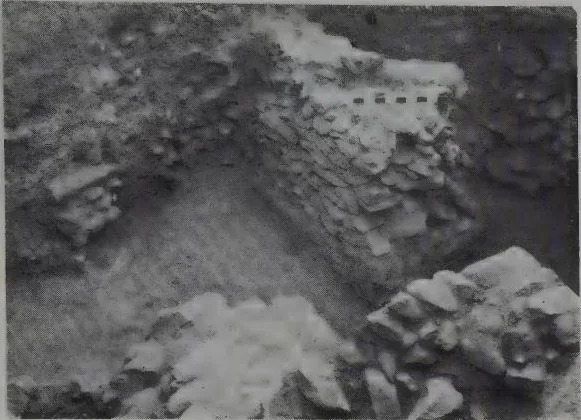
ST XXIIH: the steps and first platform extension. In the foreground, wall B to the east, more platform packing to the south, and a possible platform extension wall in the east section almost removed by pit 4d. Fig. 6.36.
 Ancientarchitecture
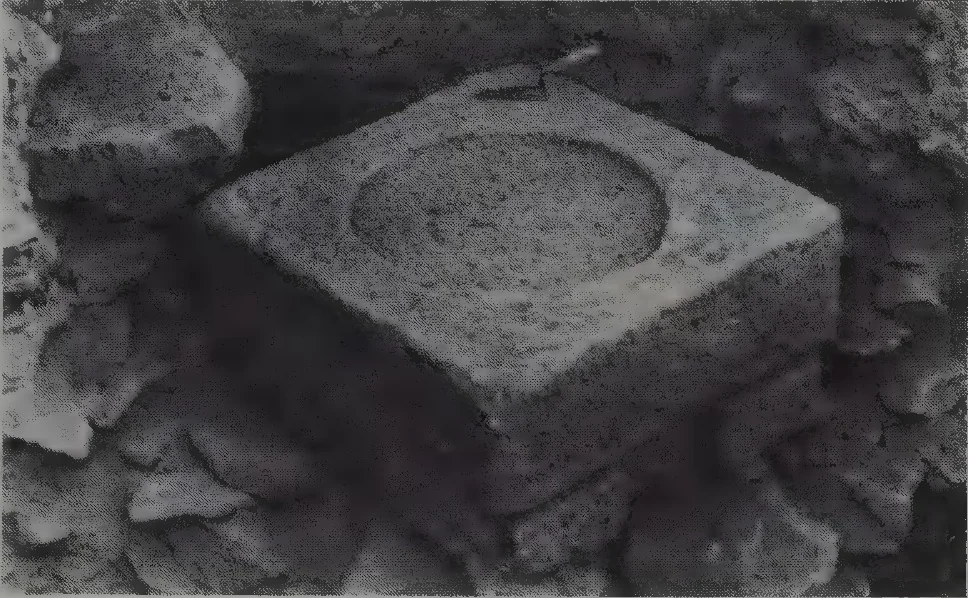
(top). ES 1: pillar base (re-used?) resting on rubble foundations at level 7. Plate 8.2 (centre). ES I from the north, showing paved court at level of demolished wall F. In the background a step is flanked by walls A and B, both with timber beams.
Tigray · Ethiopia
4 plates
 Medievalarchitecture
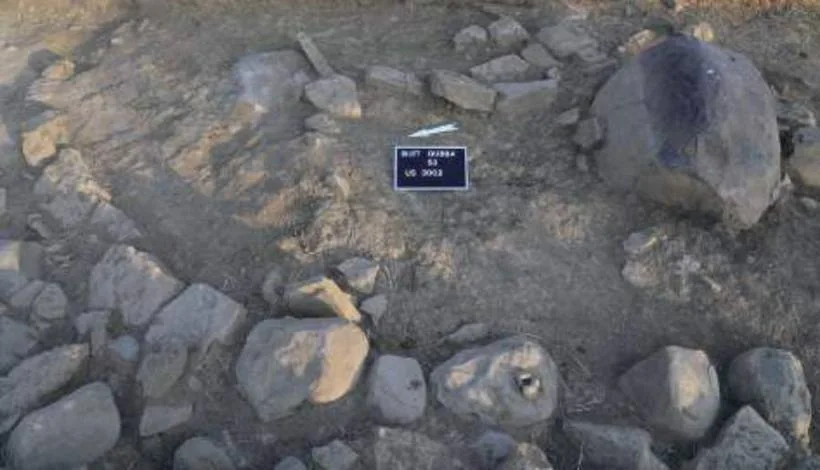
View of the interior of the house looking from the West
 Medievalarchitecture
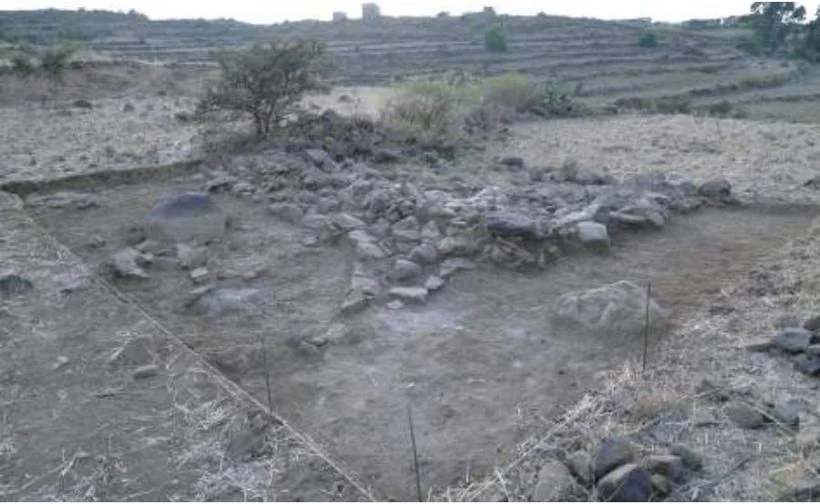
The circular house installed on the eastern wall of the quadrangular building
 Medievalarchitecture
 Medievalarchitecture
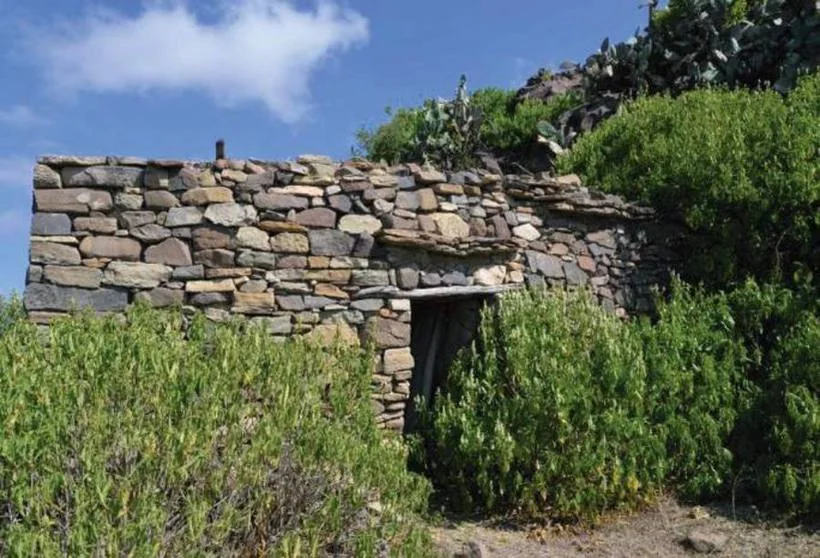
Arra Muslim cemetery along the wadi Fig.108b: Muslim tombs’ current surface markers
Amhara · Ethiopia
12 plates
 Medievalarchitecture
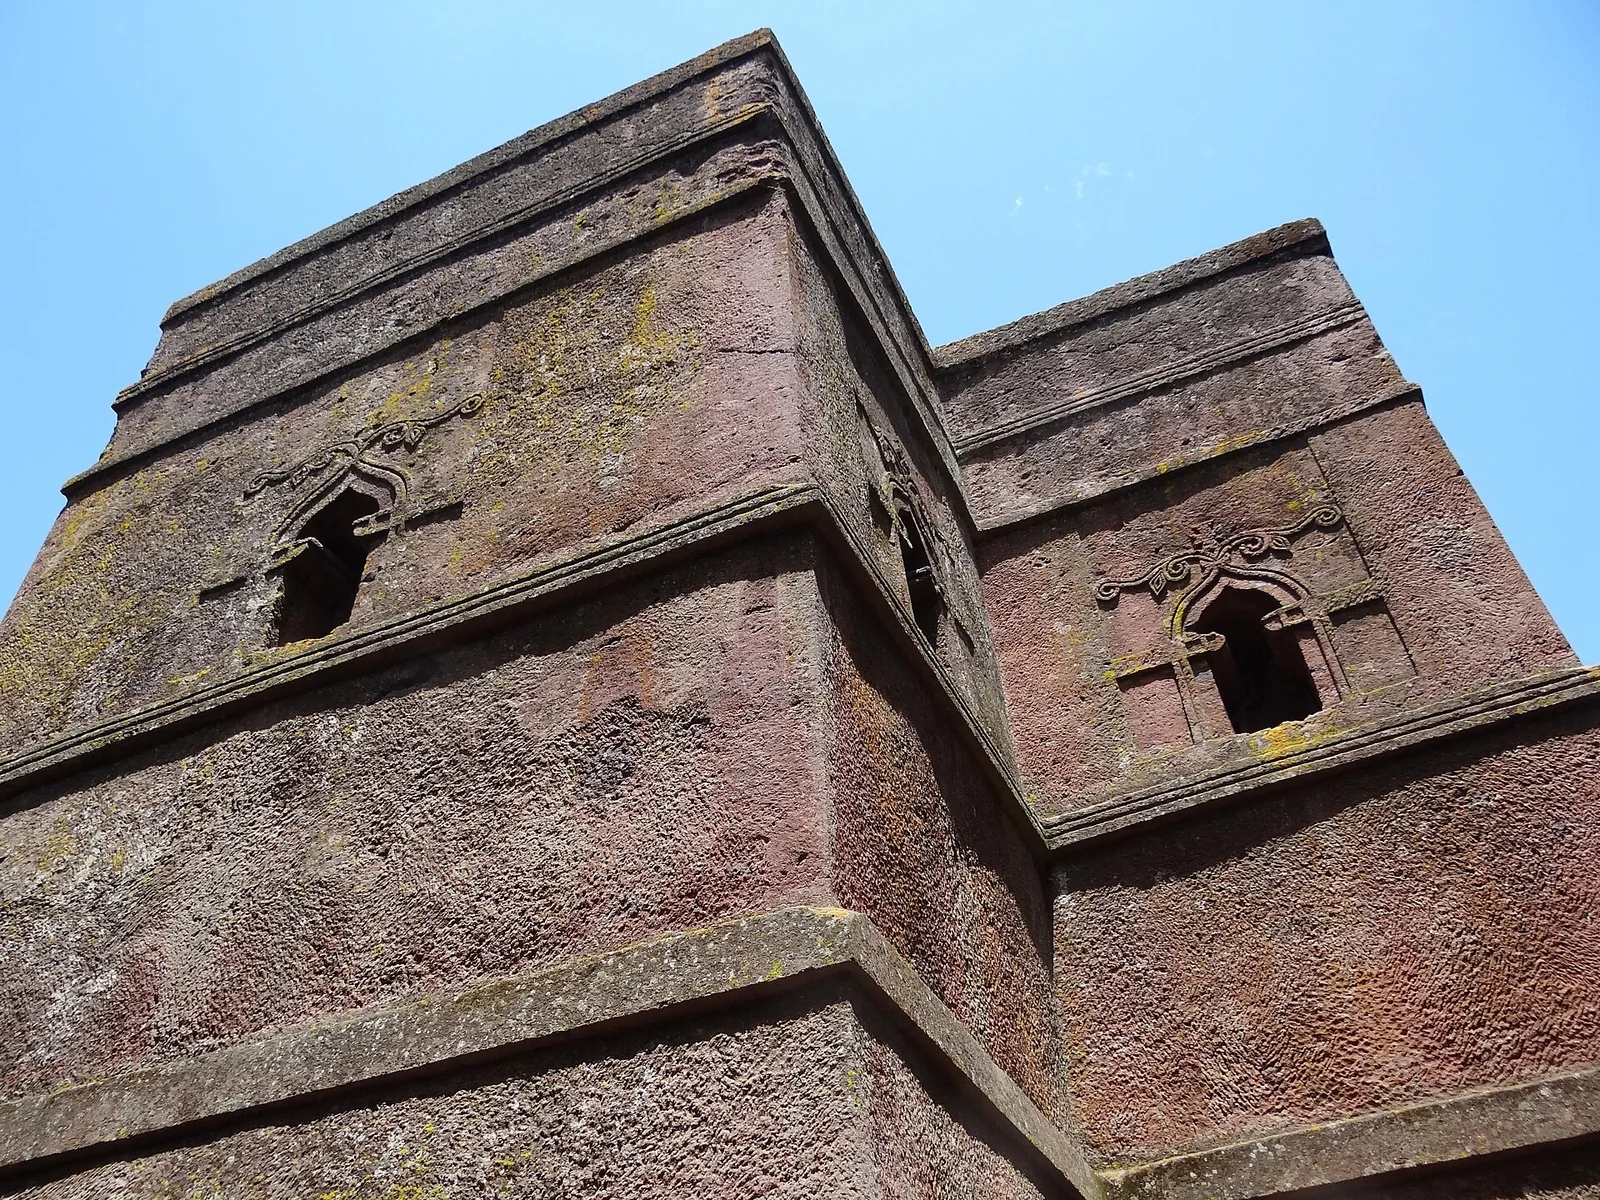
The cross-shaped monolithic church of Saint George, hewn downward into the volcanic scoria at Lalibela; the last and most refined of the town's eleven rock-hewn churches.
 Medievalarchitecture
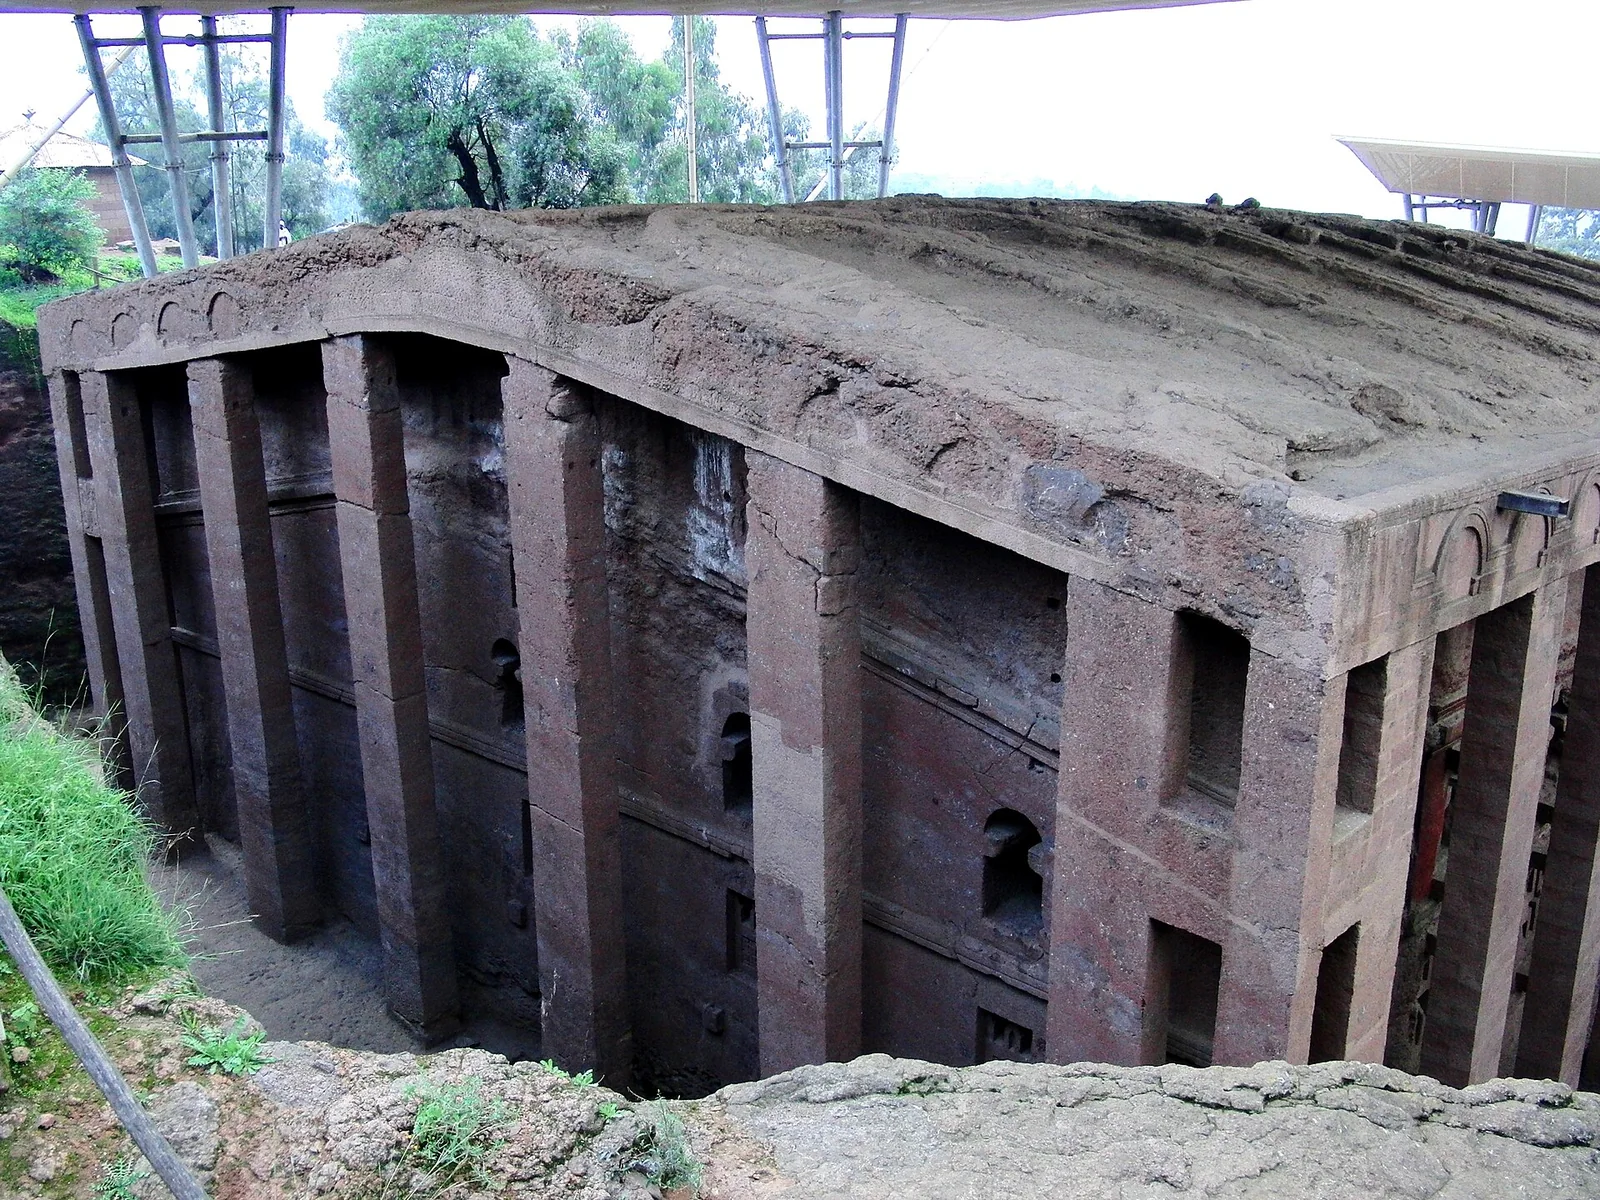
Biete Medhani Alem (House of the Saviour of the World), the largest monolithic rock-hewn church in the world, its exterior ringed by a colonnade of square-cut piers.
 Medievalarchitecture
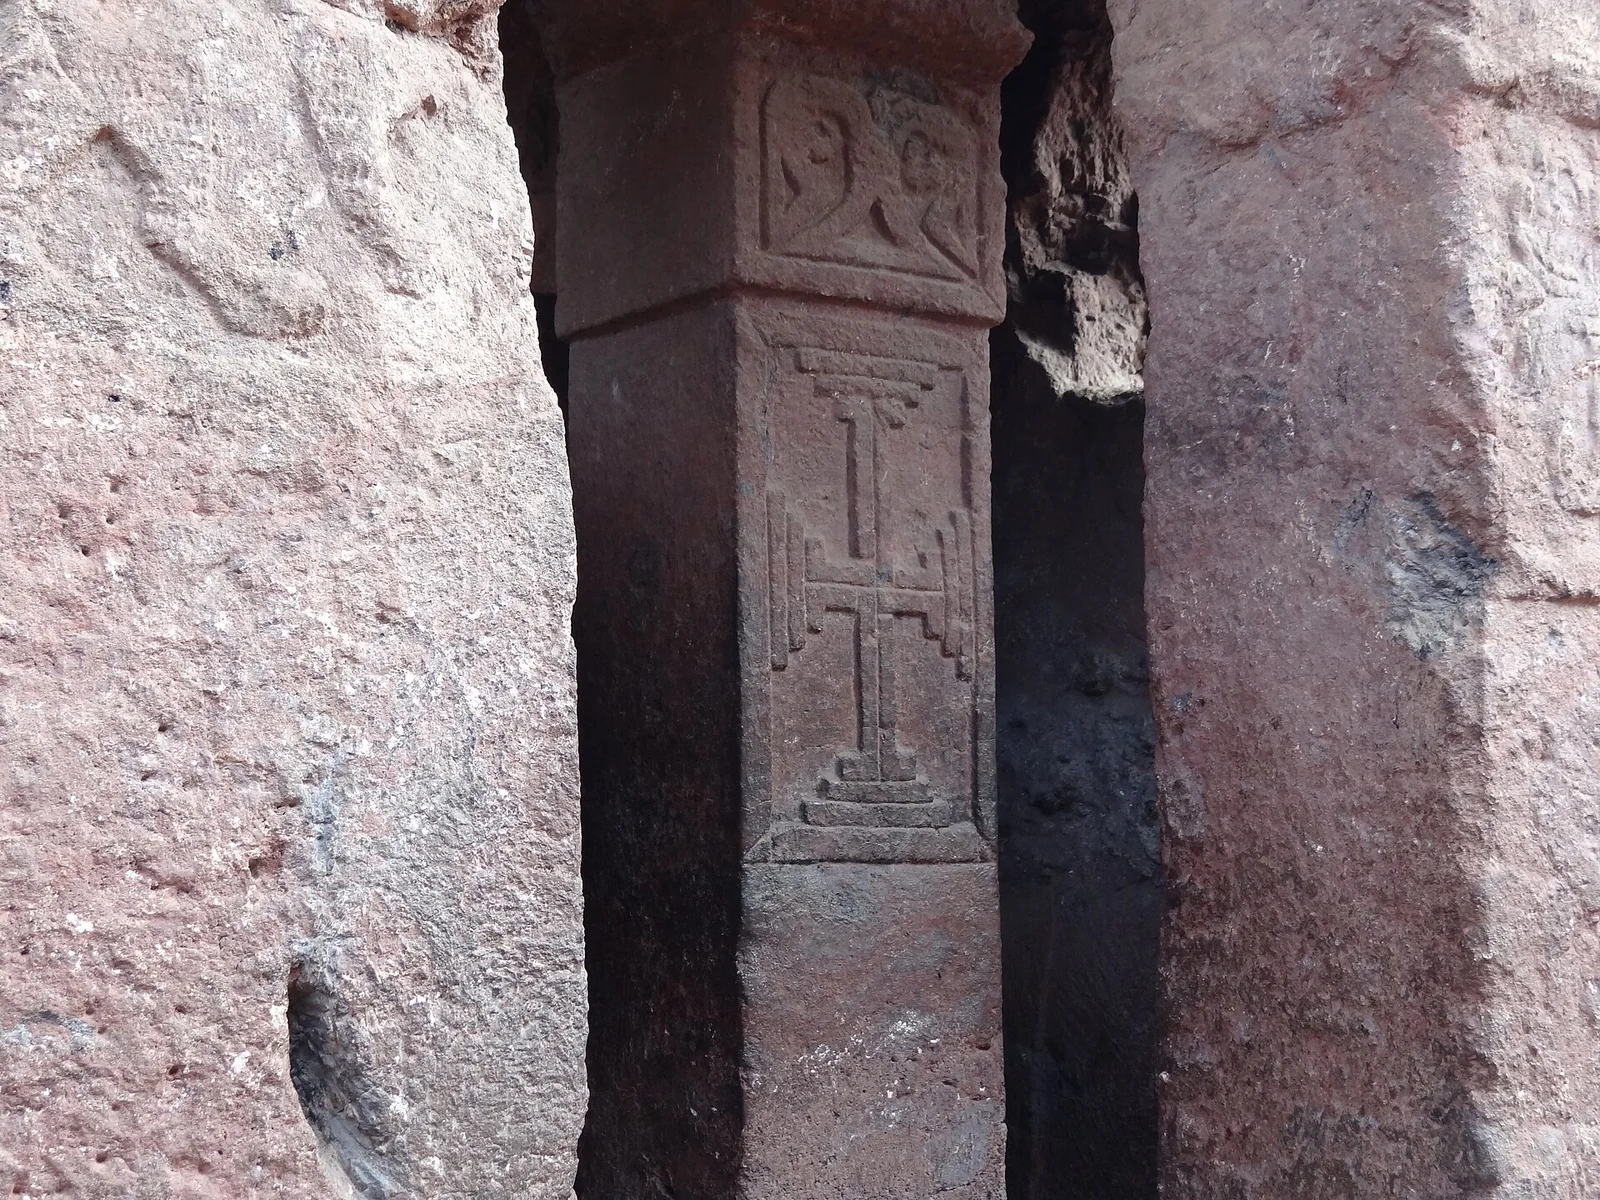
Biete Mariam (House of Mary), among the earliest of the Lalibela churches, standing in a deep rock-cut courtyard of the northern group.
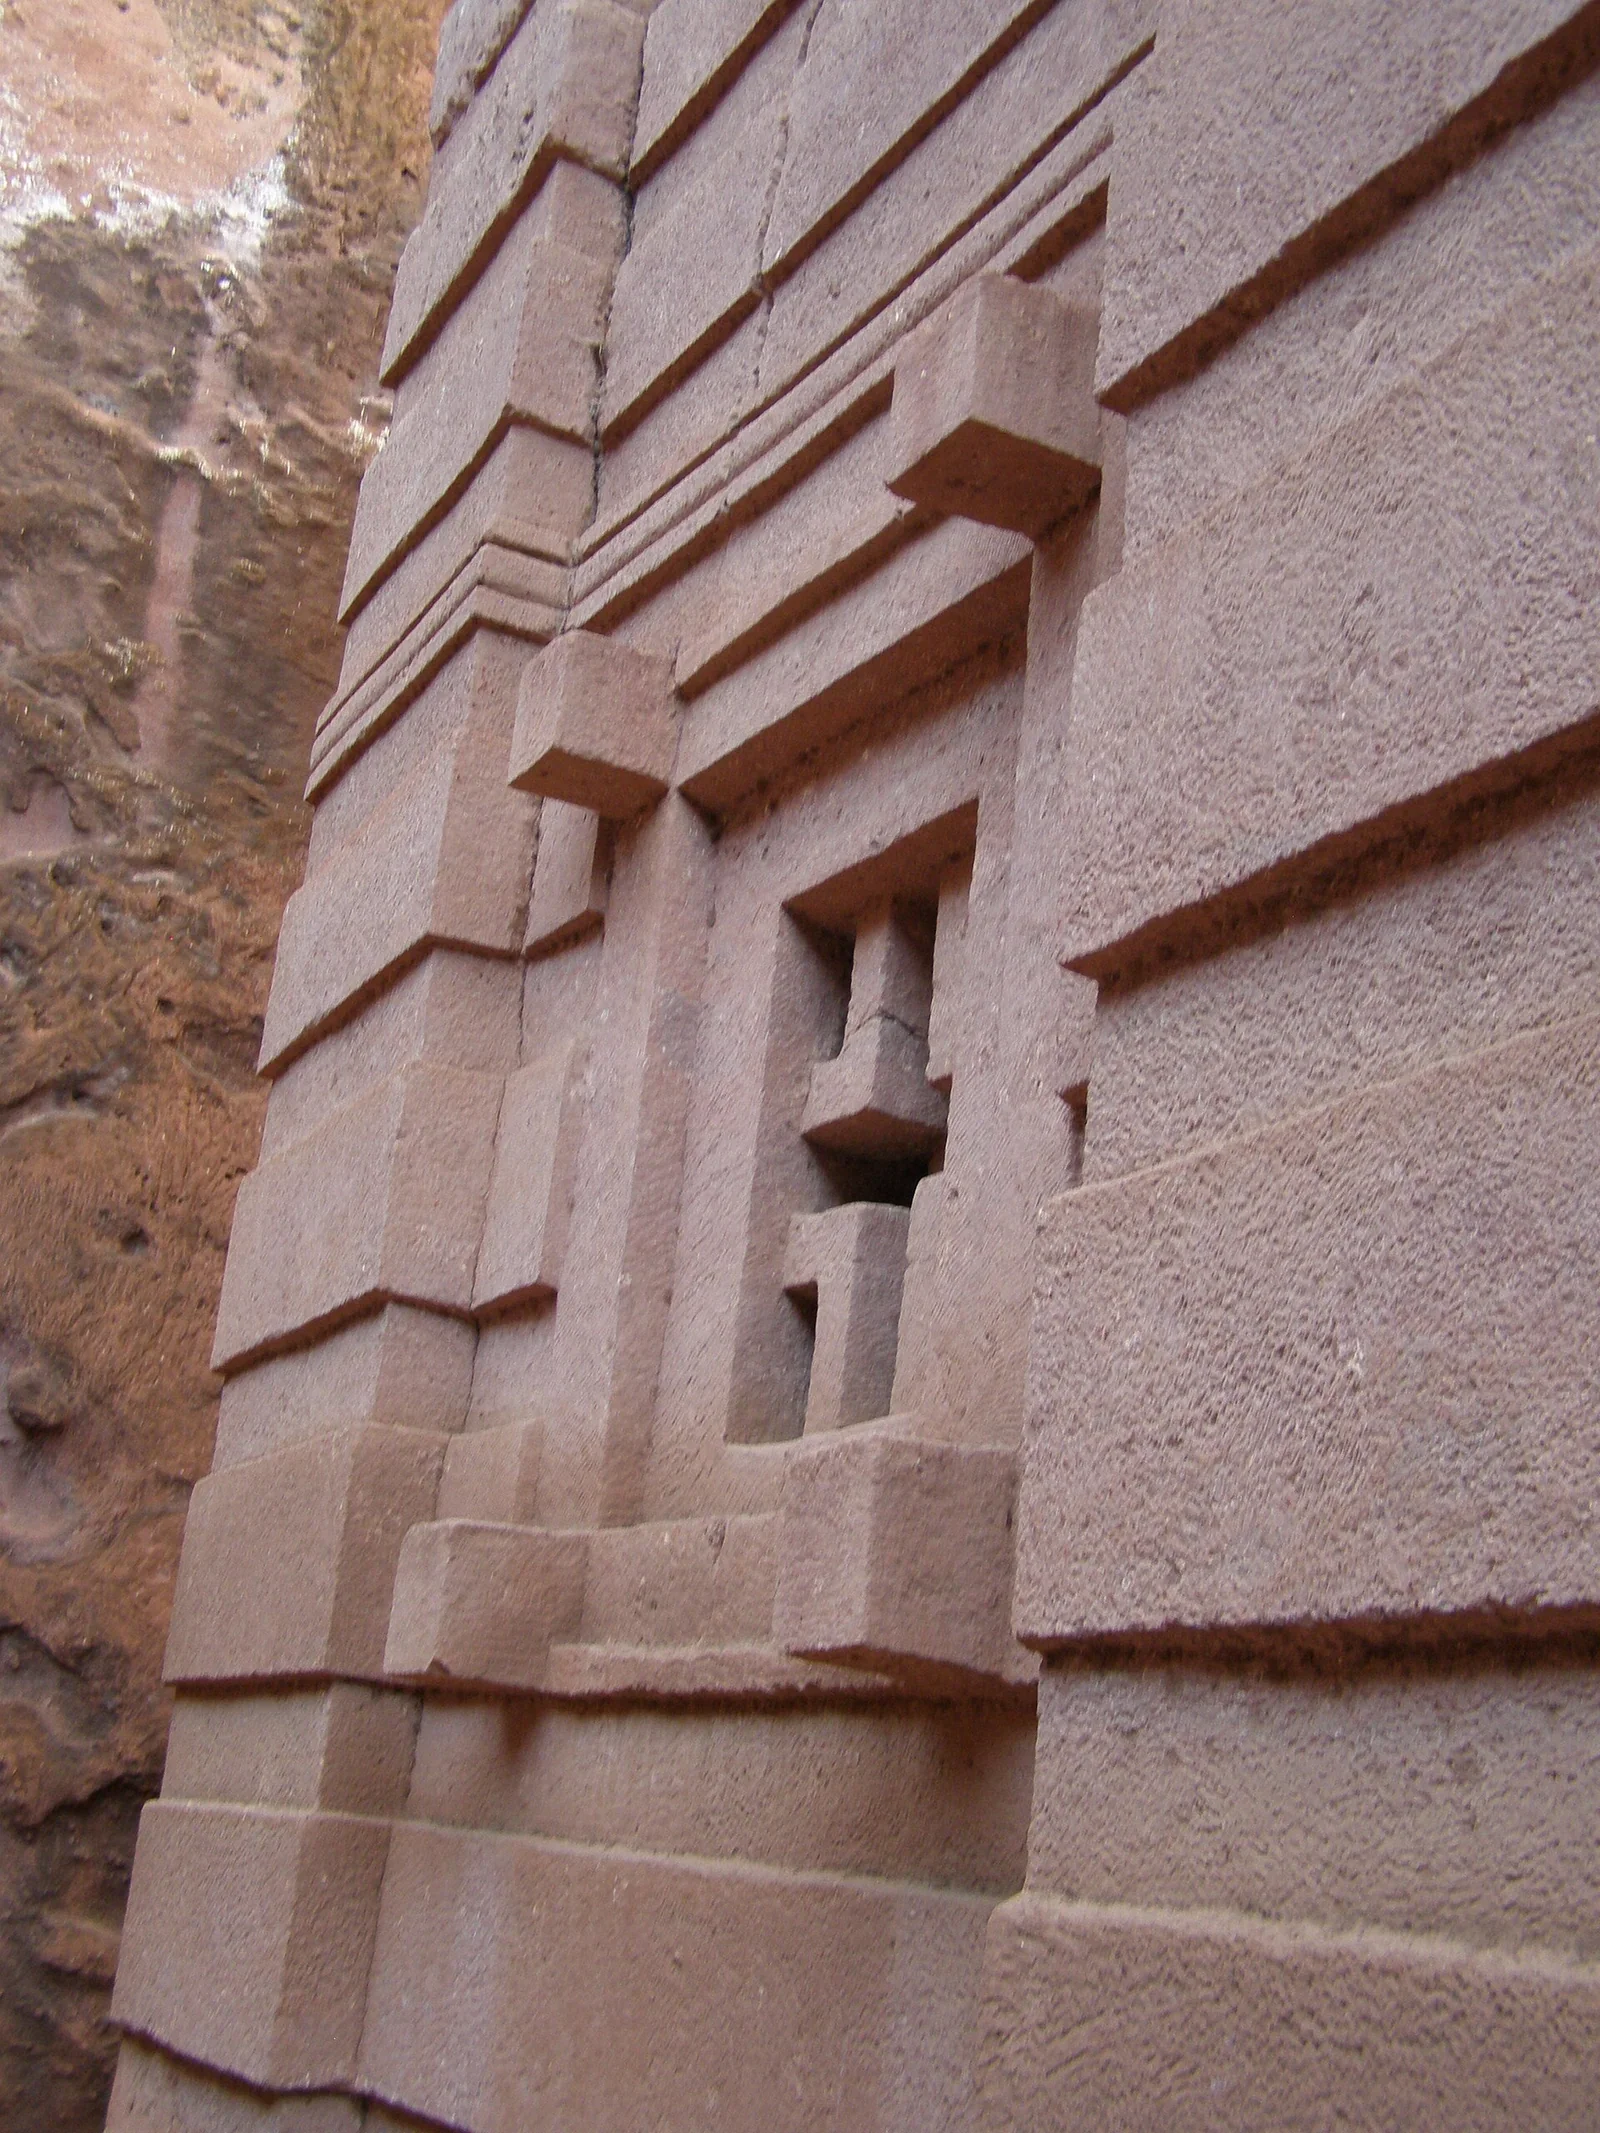 Medievalarchitecture
Biete Amanuel, a monolithic church of the eastern group whose carved facade imitates Aksumite layered wood-and-stone masonry.
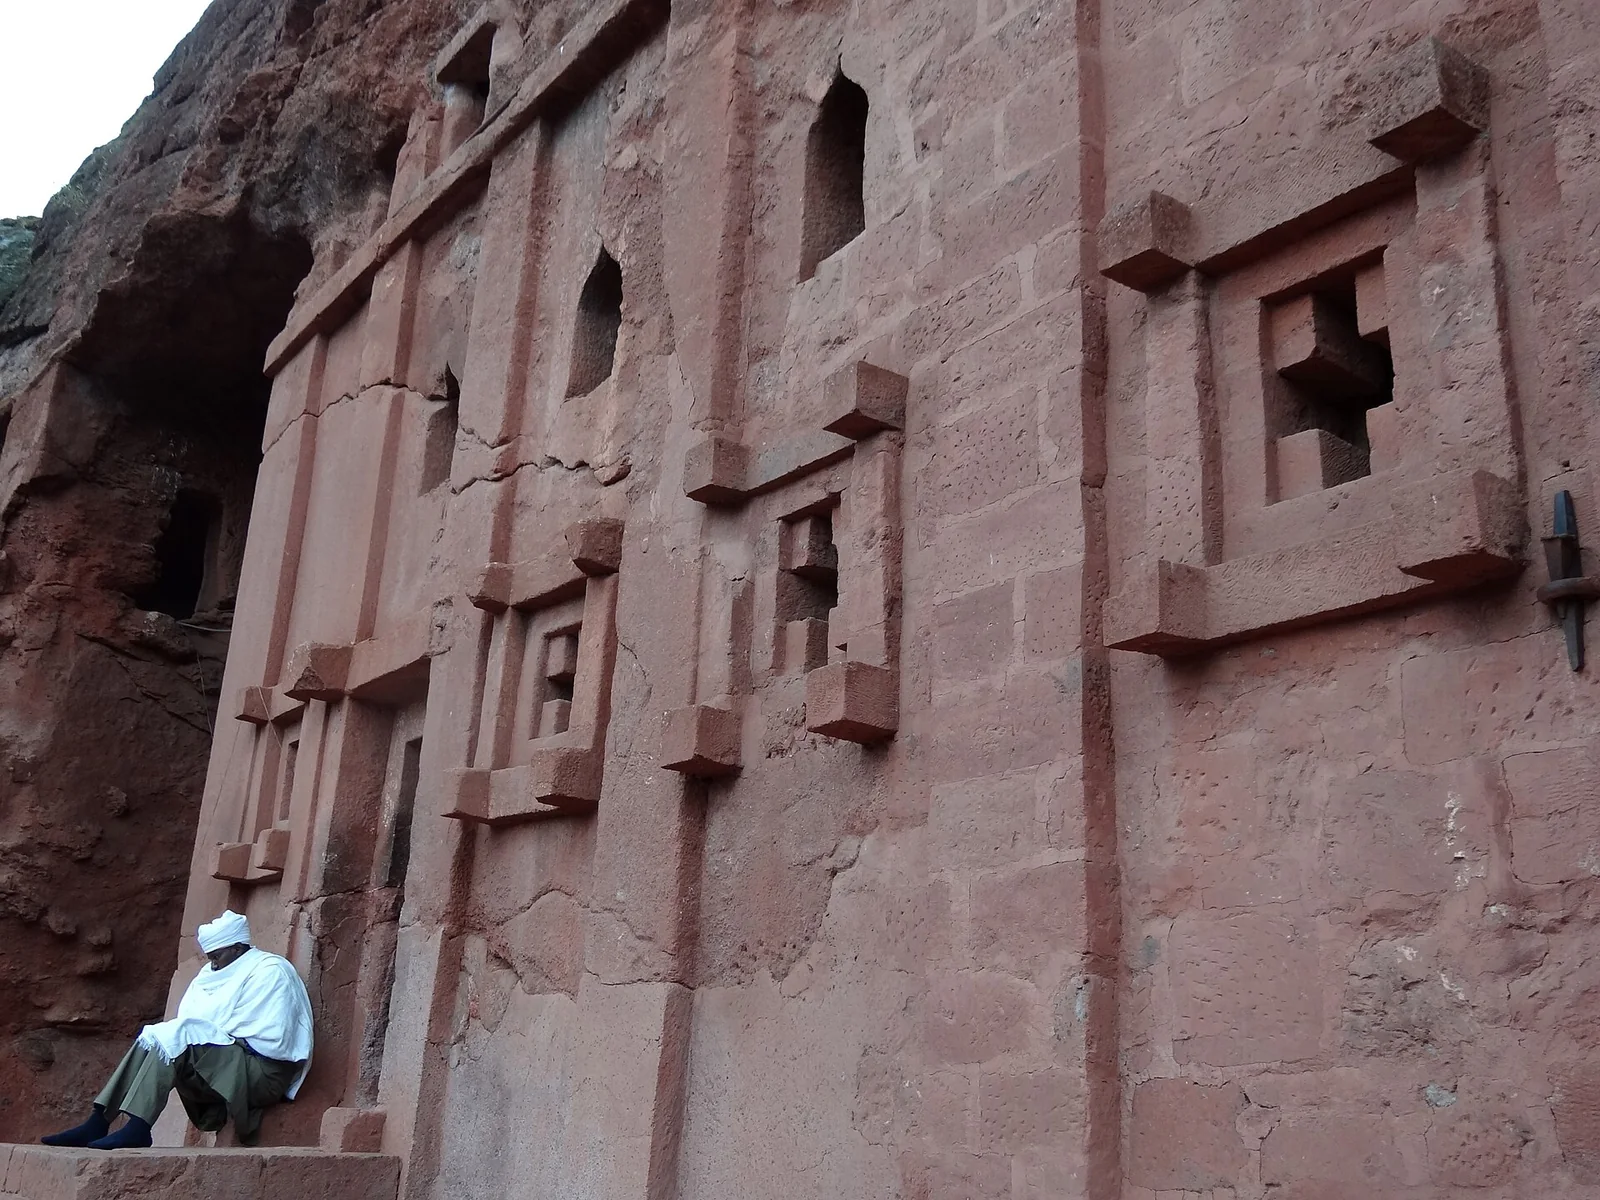 Medievalarchitecture
Biete Abba Libanos, a hypogeous church of the eastern group, cut free on four sides but left joined to the mother rock at its roof.
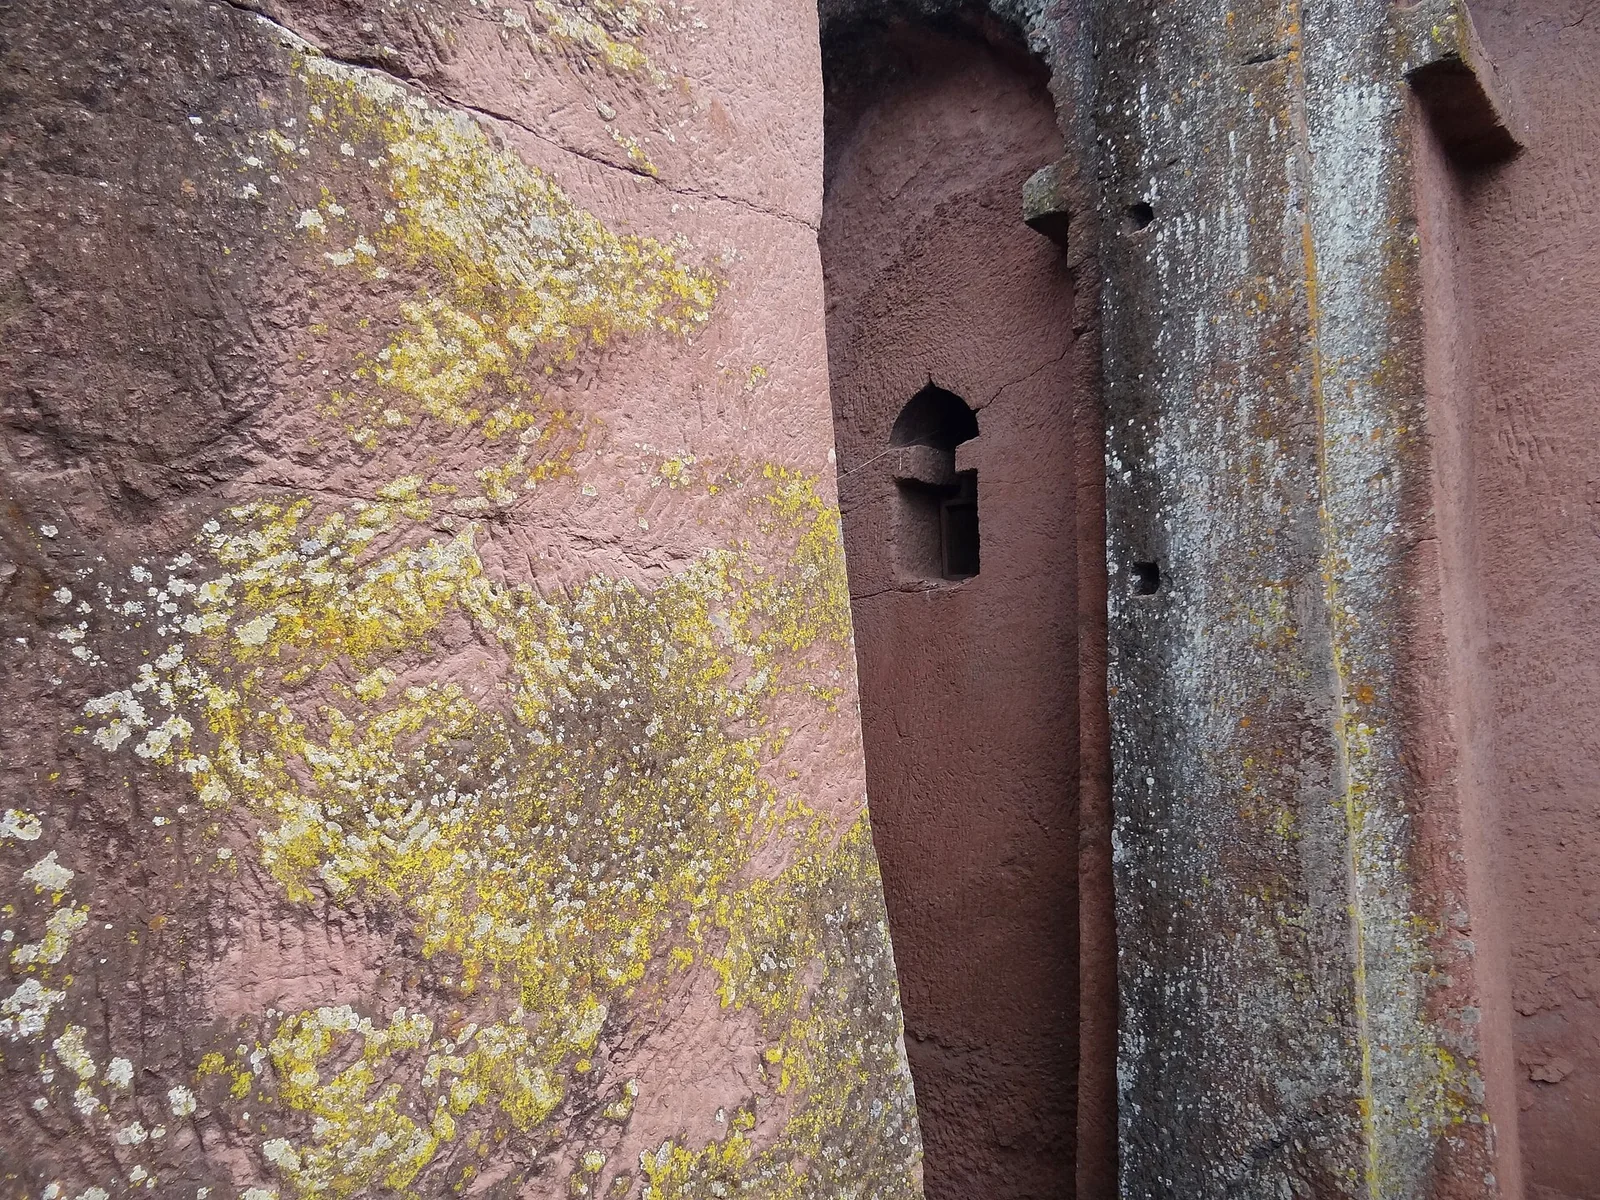 Medievalarchitecture
Biete Gabriel-Rufael, entered across a bridged trench; its monumental slanting facade is thought to preserve a fortified or palatial building older than the churches around it.
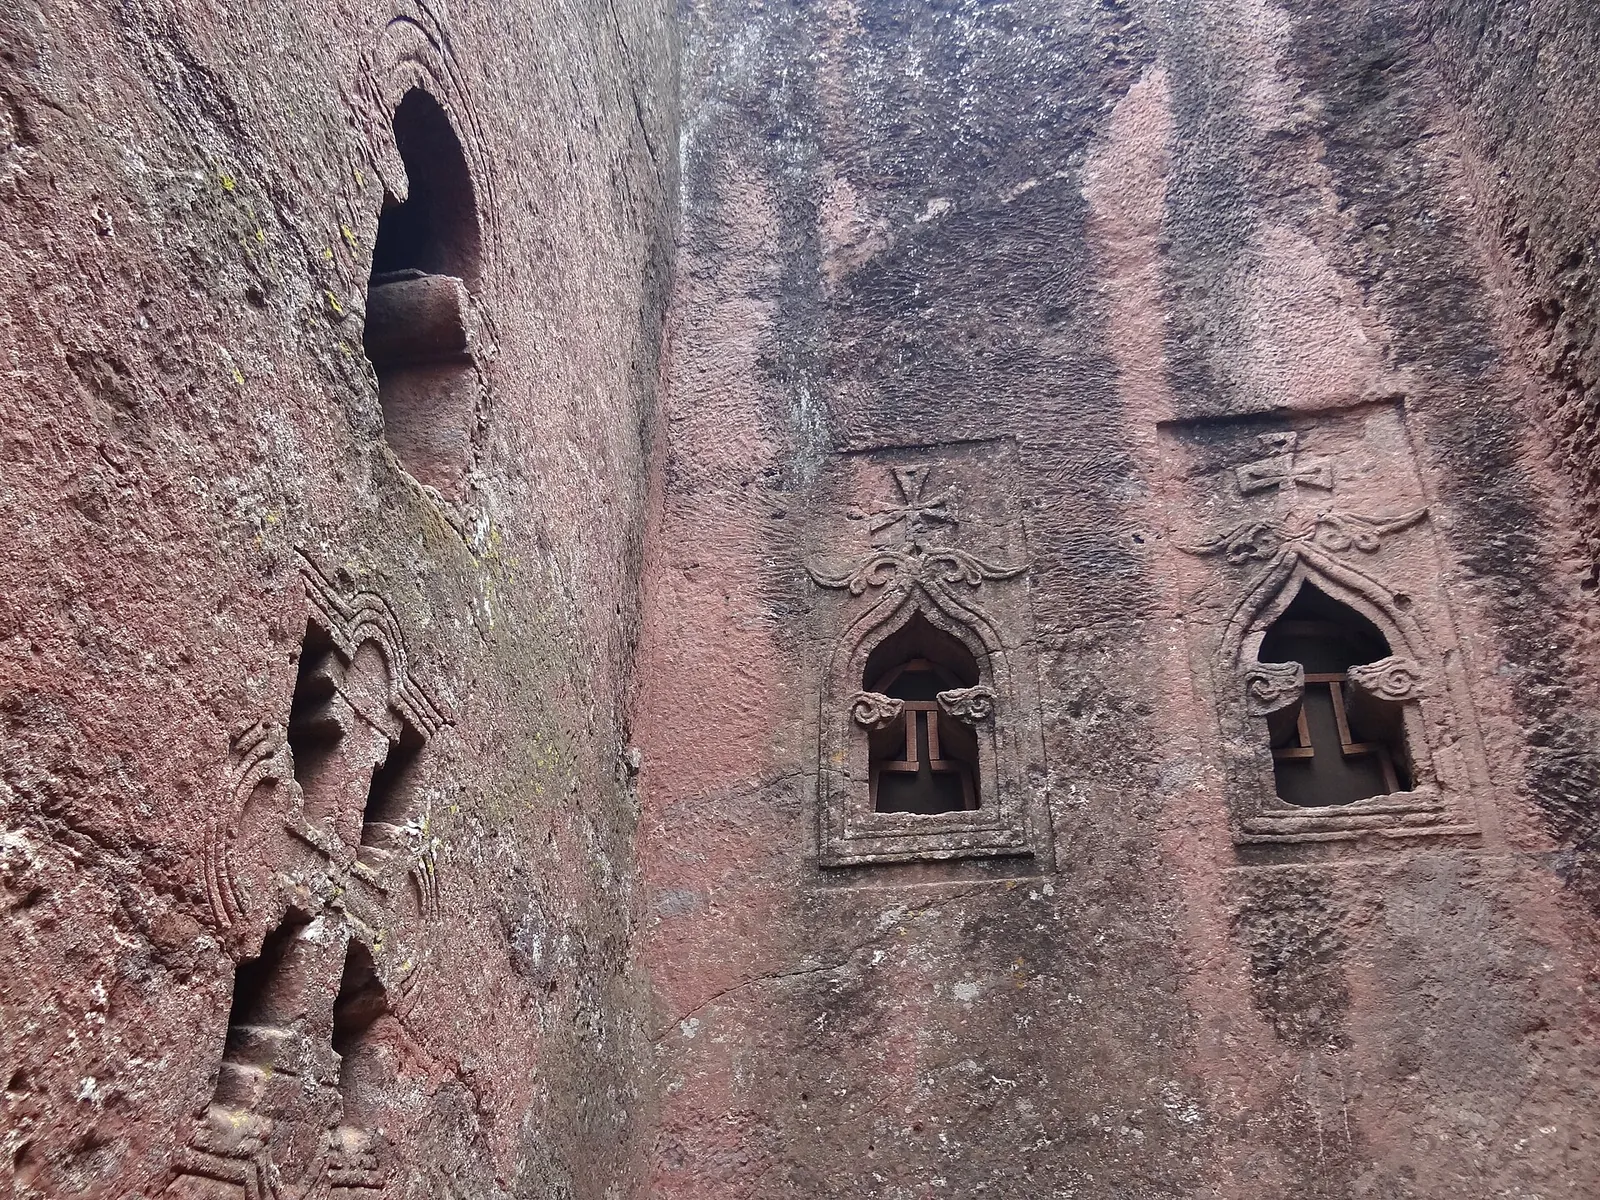 Medievalarchitecture
The twin churches of Biete Golgotha and Biete Mikael (Debre Sina), joined northern-group sanctuaries; Golgotha shelters the reliefs of saints and the tomb traditionally held to be King Lalibela's.
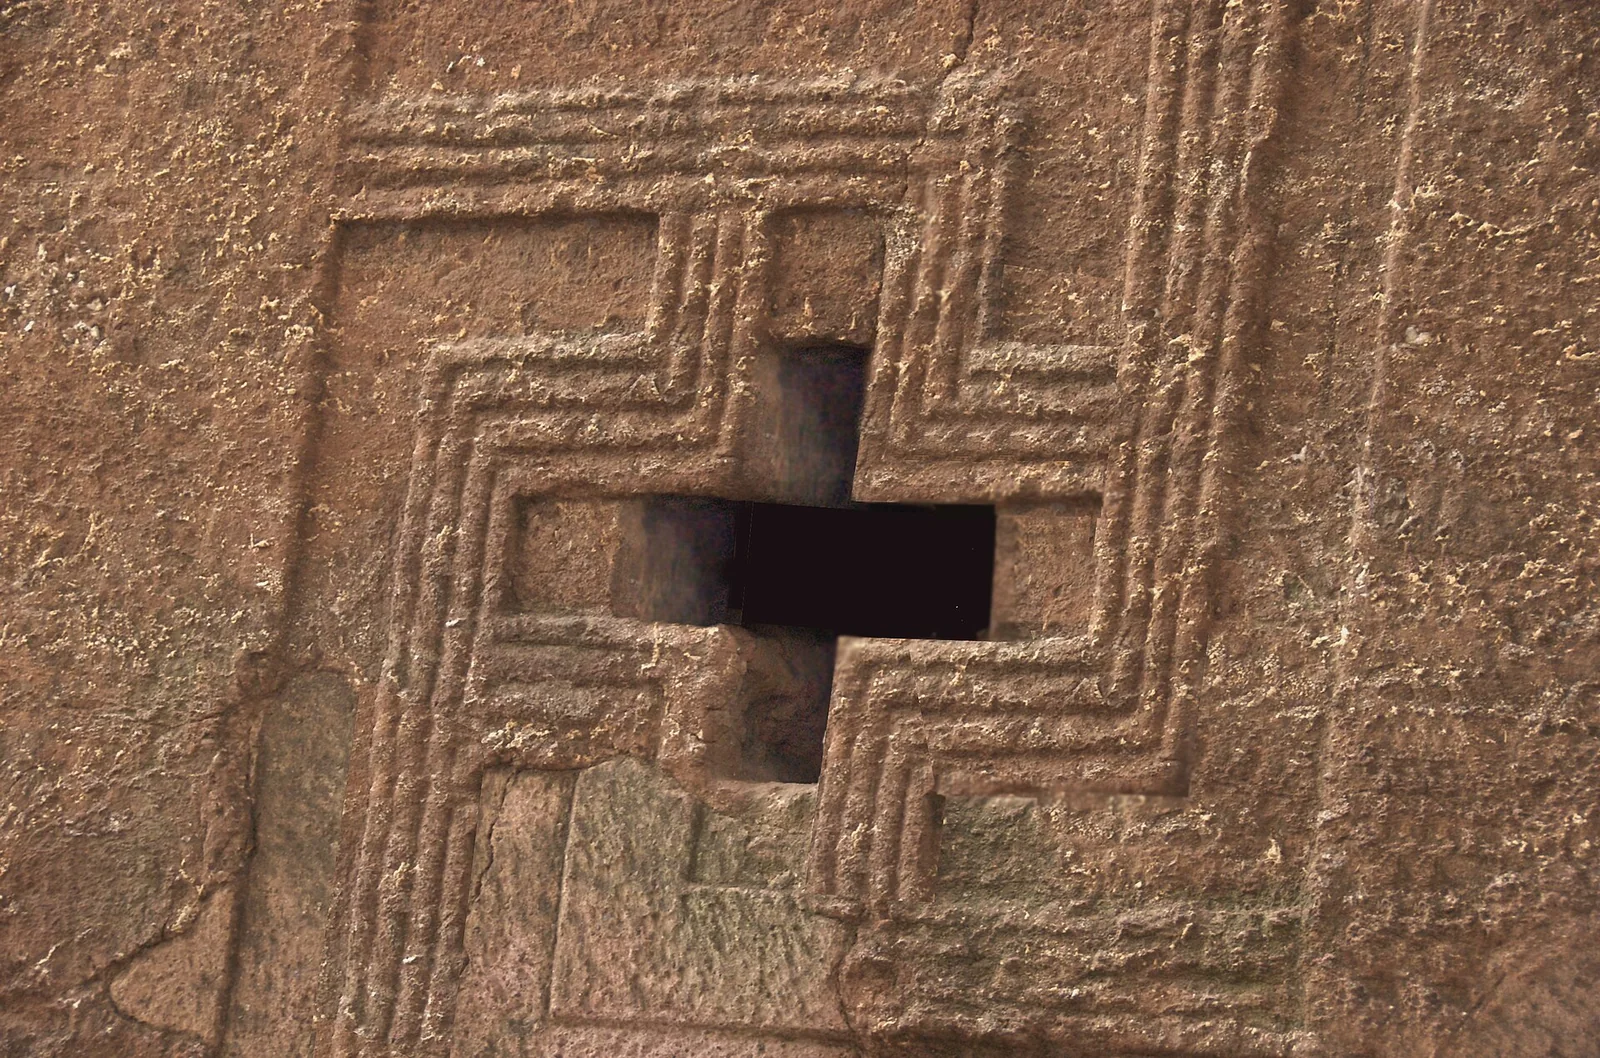 Medievalarchitecture
Biete Maskal (House of the Cross), a broad low chapel carved into the northern wall of Biete Mariam's courtyard.
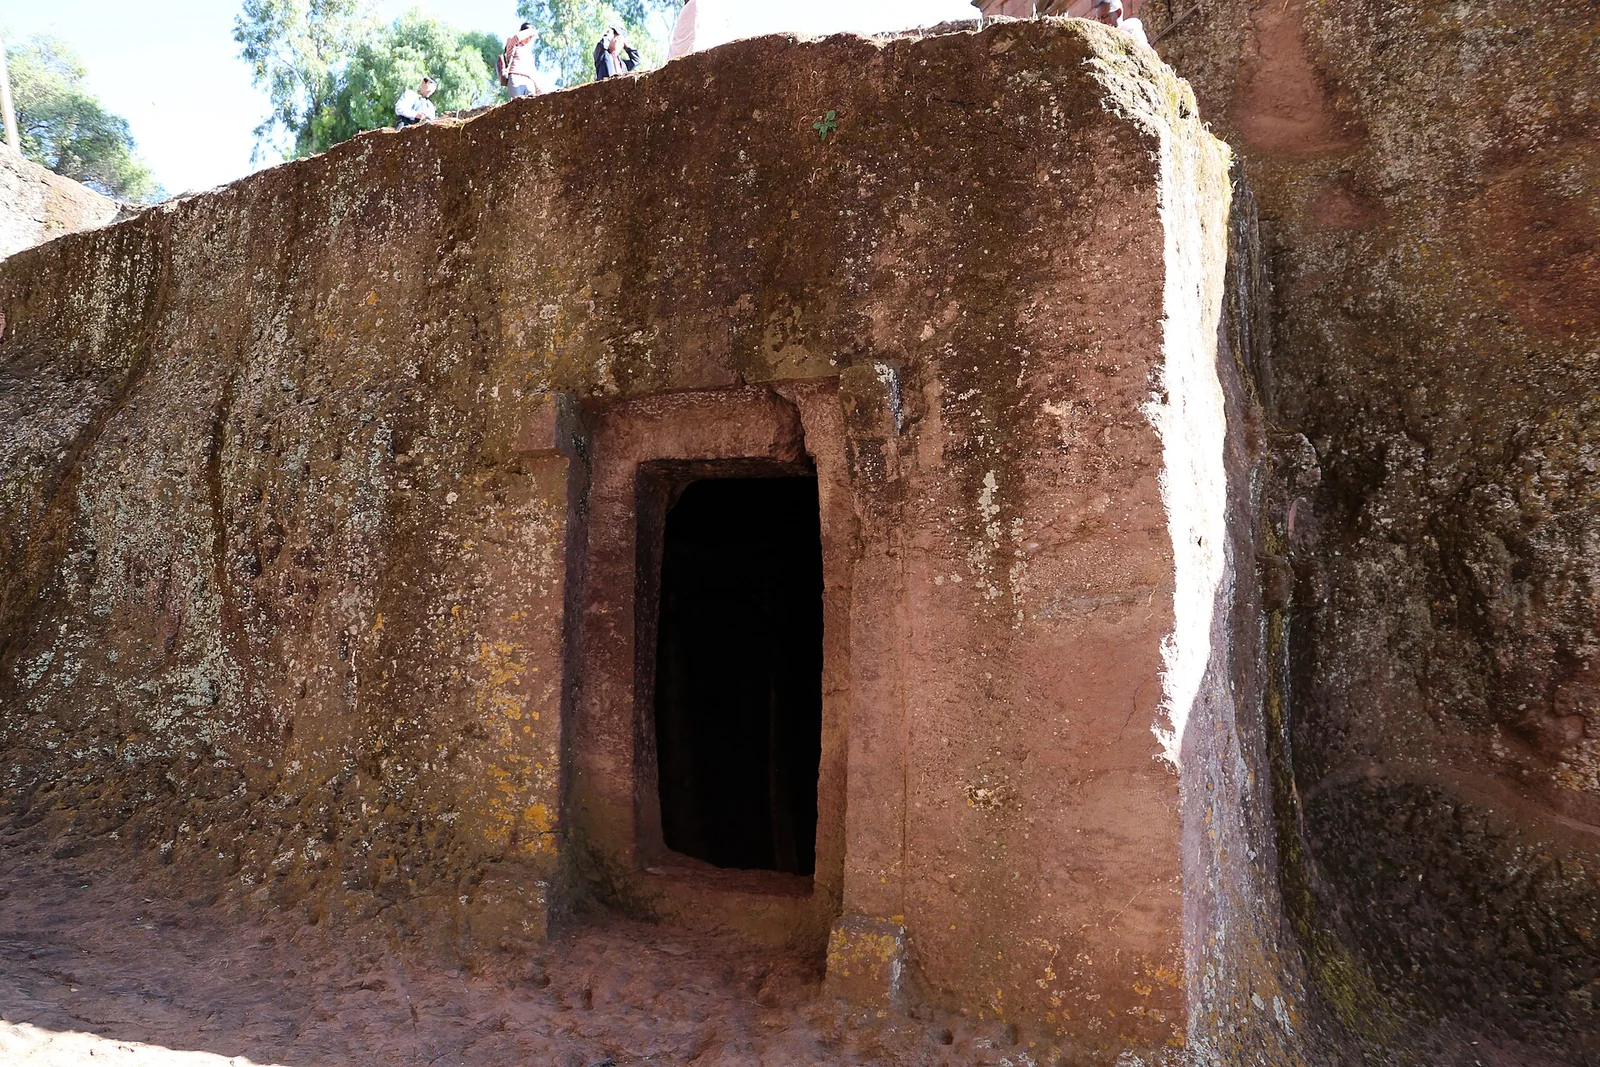 Medievalarchitecture
Biete Denagel (House of the Virgins), a small chapel of the northern group commemorating the virgin martyrs of Edessa.
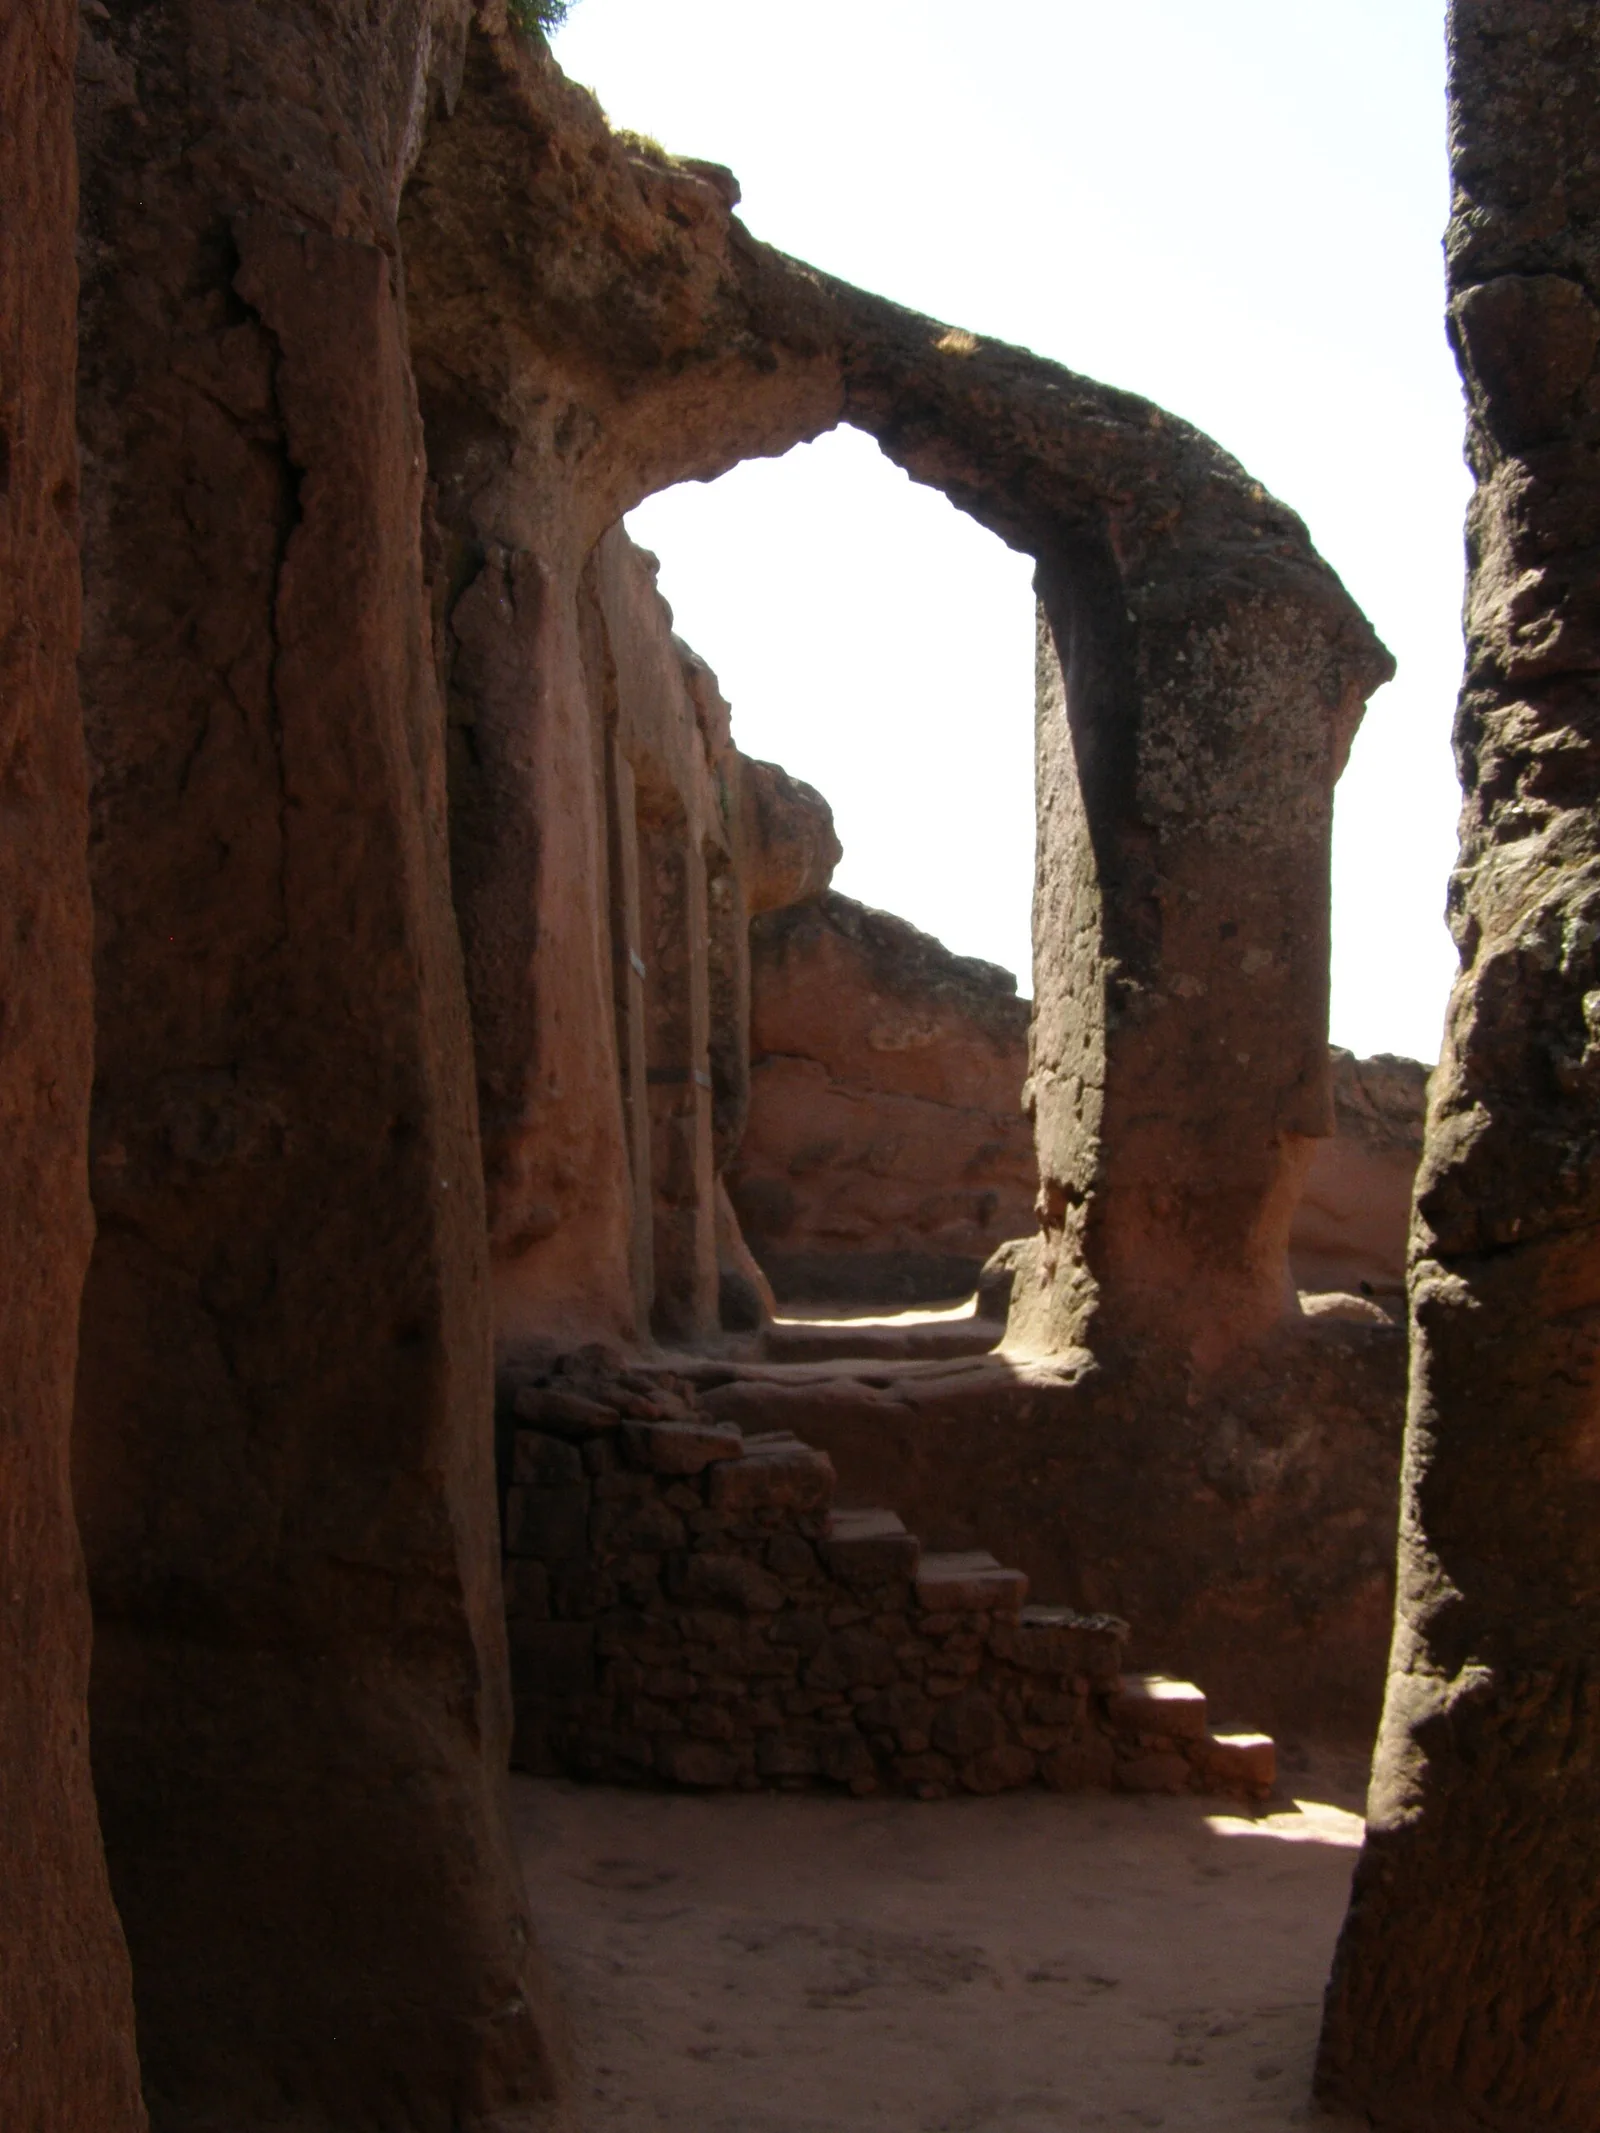 Medievalarchitecture
Biete Qeddus Mercoreus (House of Saint Mercurius) of the eastern group, reached through tunnels; its irregular halls are thought to have first served a civil, possibly judicial, use.
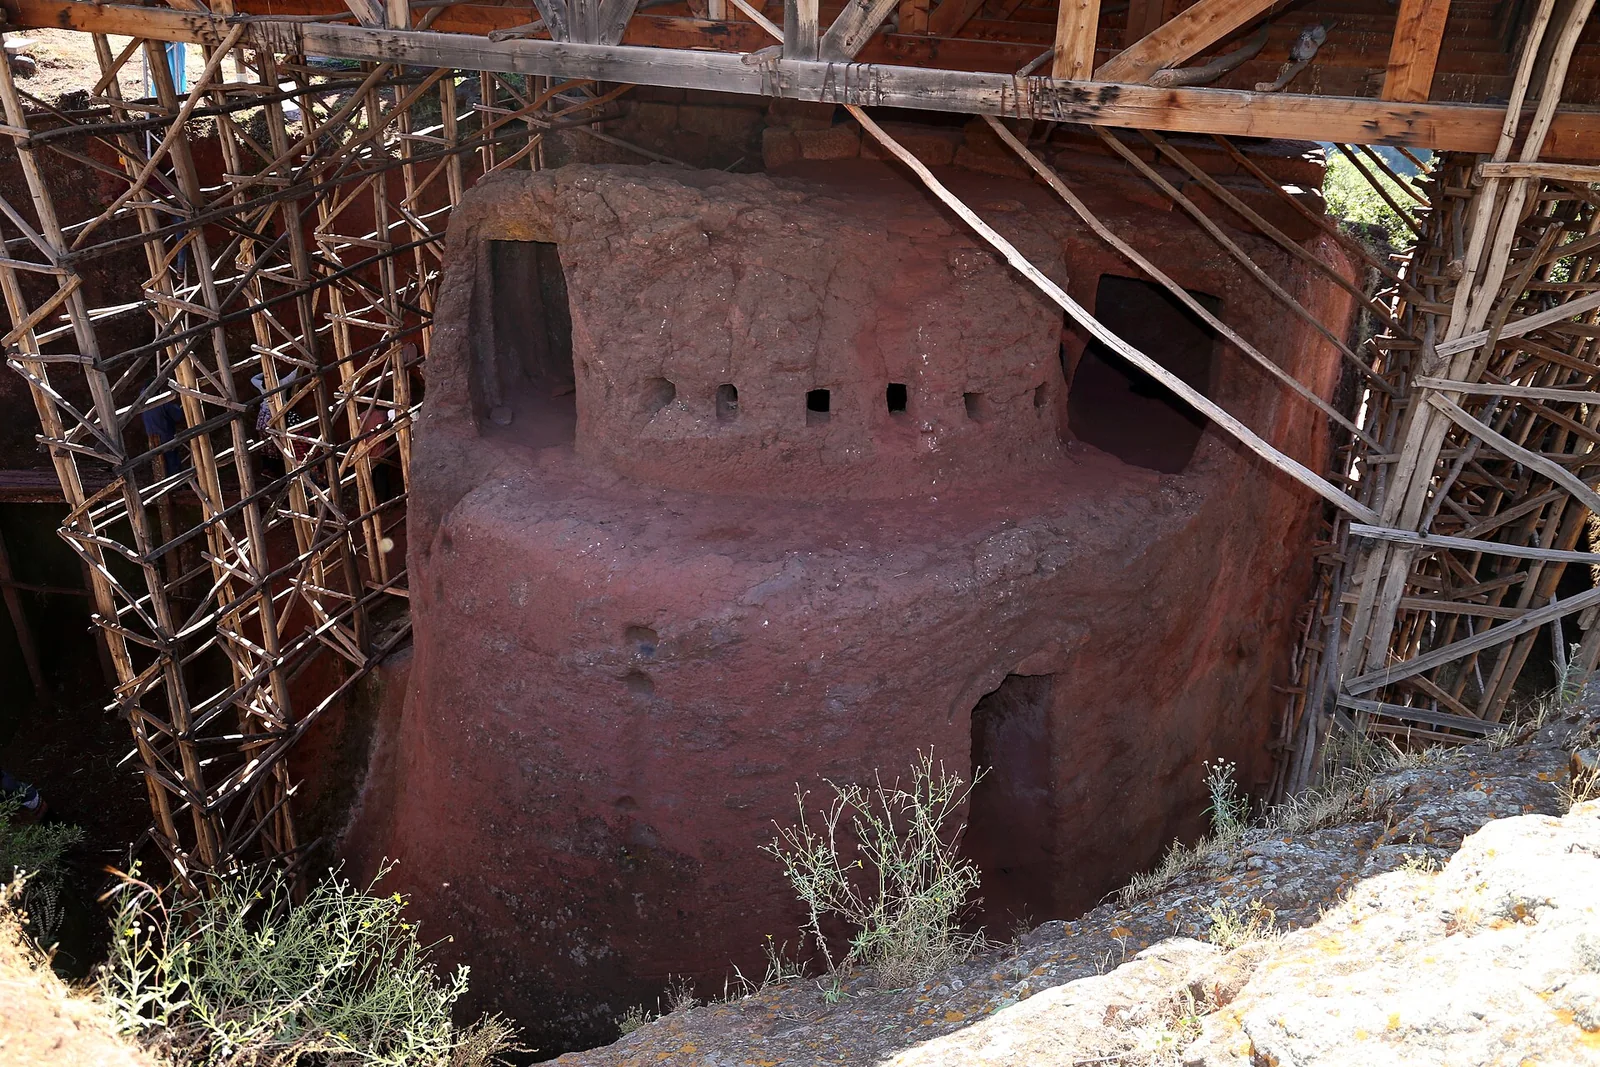 Medievalarchitecture
Biete Lehem (Bethlehem), the small rock-cut chamber linked to Biete Mercoreus, traditionally the bakery where the eucharistic bread was prepared.
 Medievalarchitecture
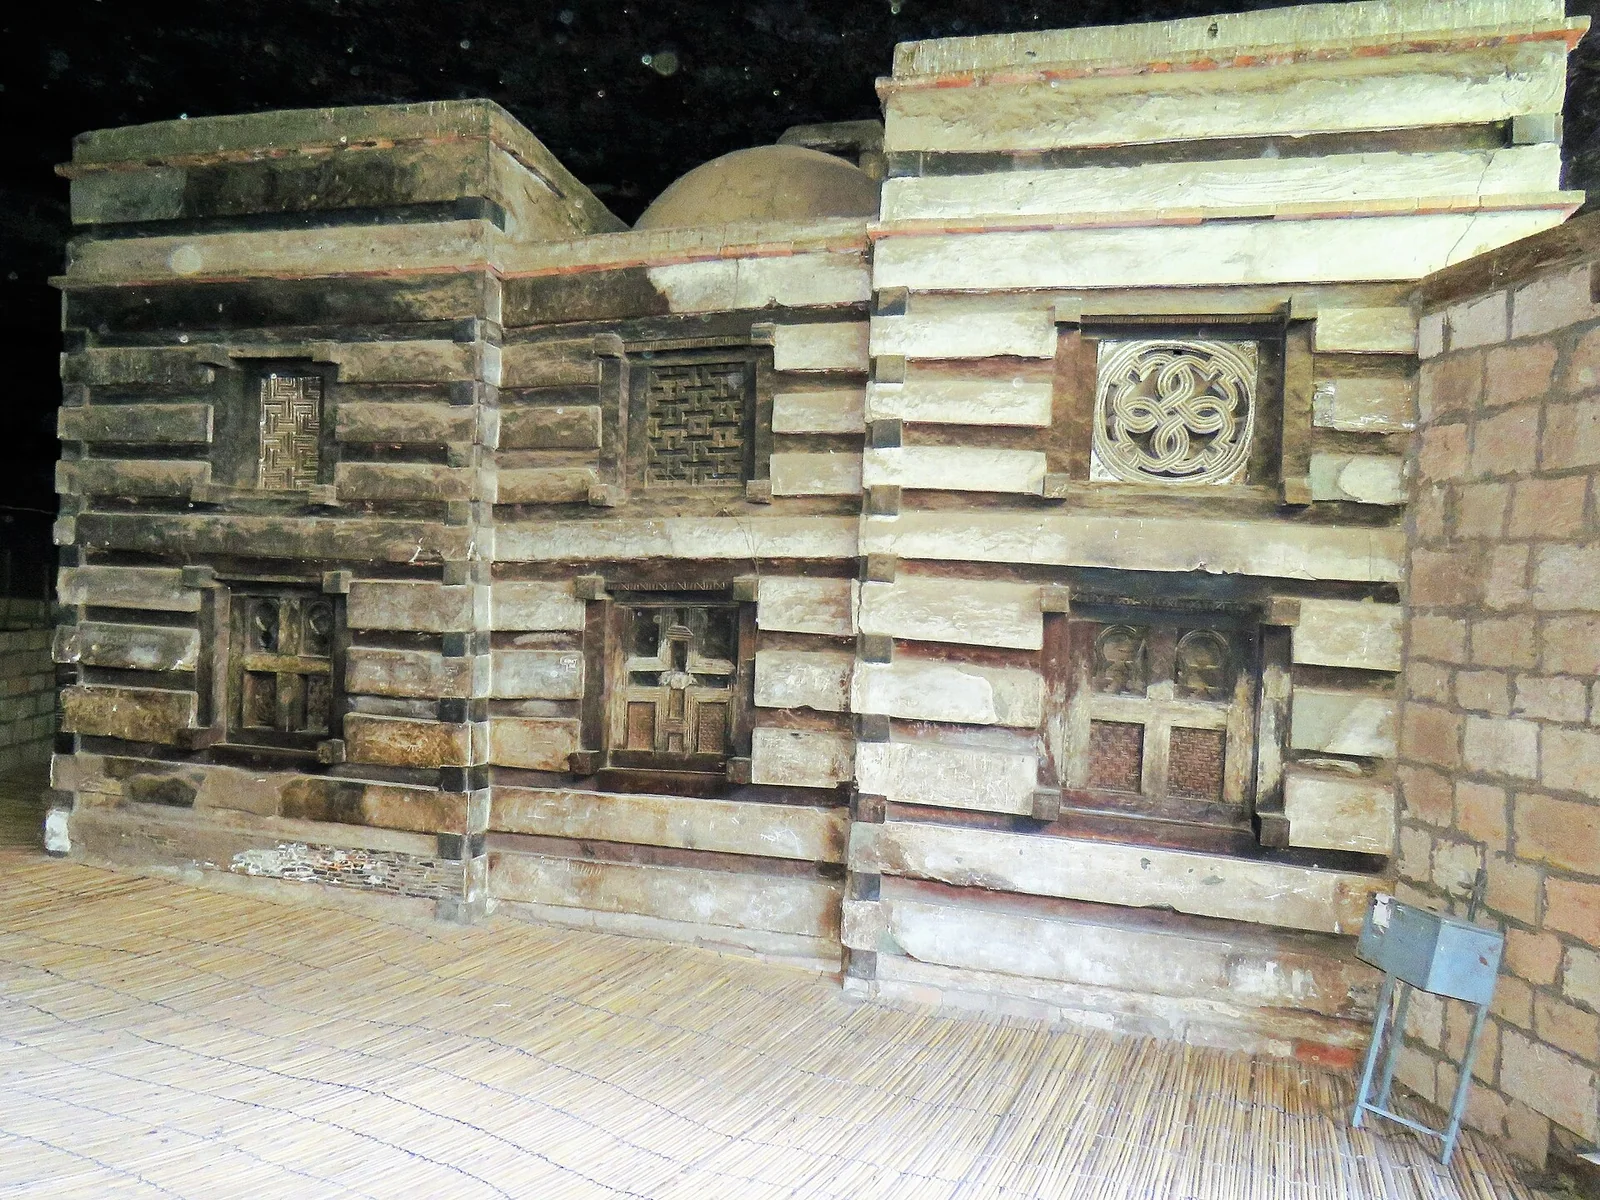
The built (not hewn) church of Yemrehana Krestos, raised in alternating courses of wood and plastered stone in the Aksumite manner inside a cave north-east of Lalibela.
Debub · Eritrea
3 plates
 Ancientarchitecture
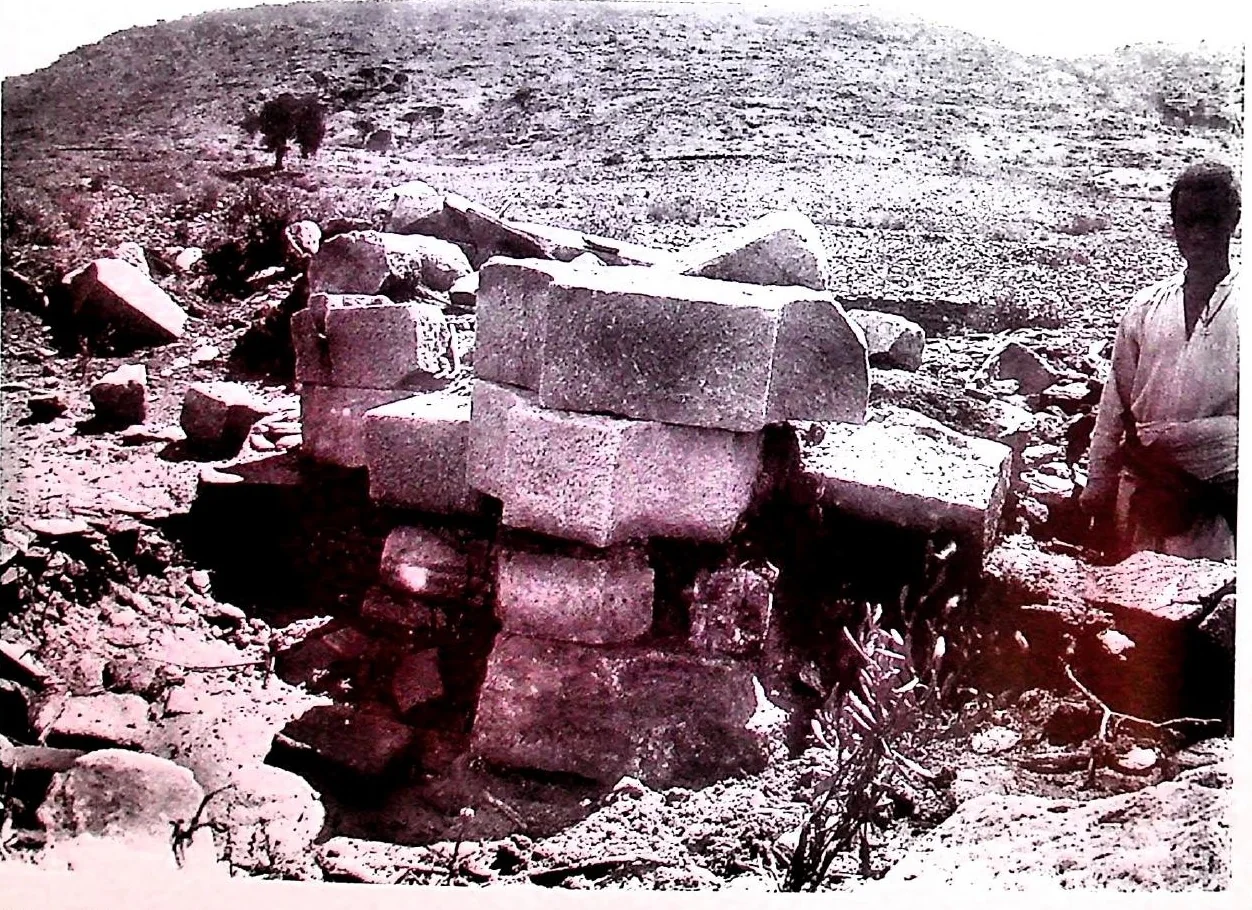
Abb. 6. Tokonda, Ruine II, Wandpfeilerrest (Foto: MBA 2257.6). Abb. 2. Tokonda, Ruine II, Nordseite (Foto: MBA 2257.2). Abb. 3. Tokonda, Ruine II, Pfeiler- und Basenreste I (Foto: MBA 2257.3). Abb. 4.
 Ancientarchitecture
 Ancientarchitecture
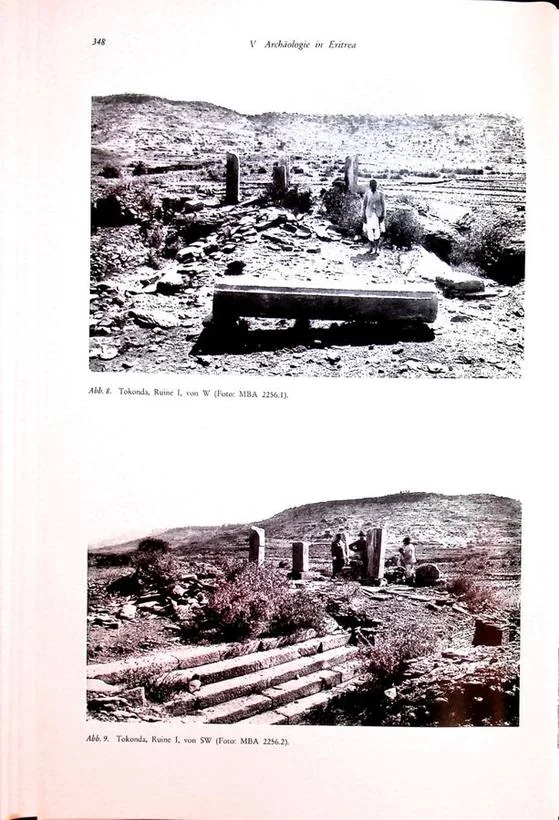
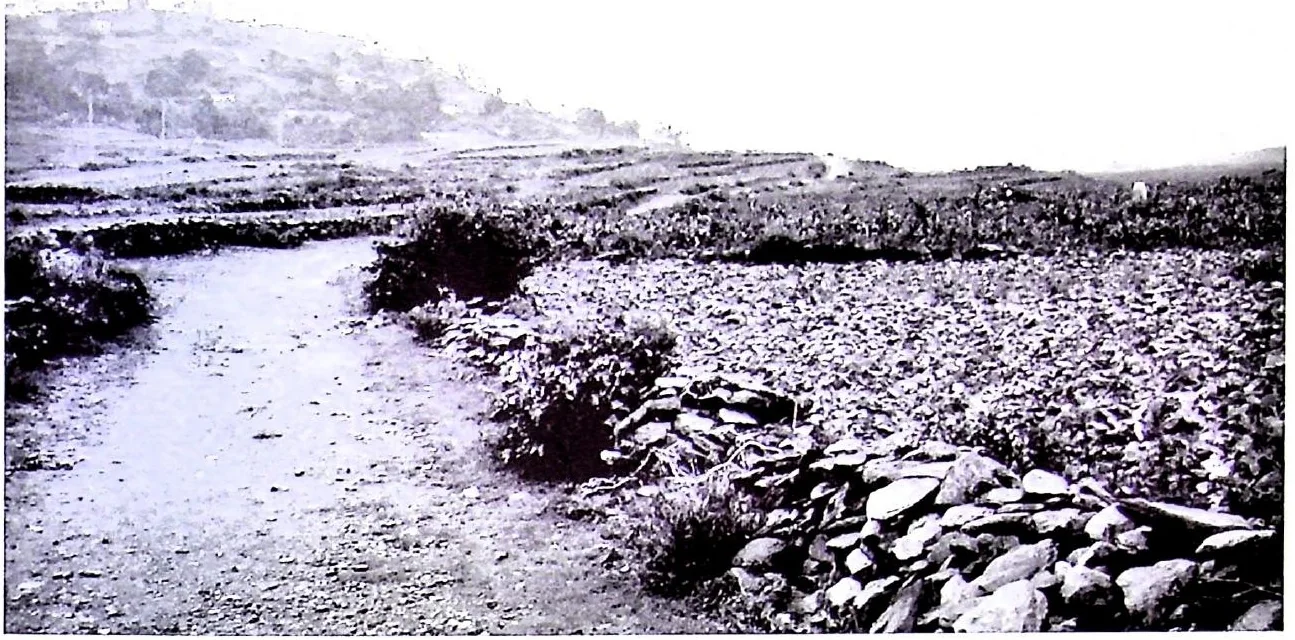
Abb. 6. Die Ruinen von Tokonda, Blick Richtung Nordwesten (Foto: L. Lätt 2006). Abb. 7. Die Ruinen von Tokonda, Blick Richtung Osten (Foto: DAE 393 = MBA 2256.01). Abb. 8. Die Ruinen von Tokonda, Blick Richtung Osten (Foto: L. Lätt 2006).
16 plates
 architecture
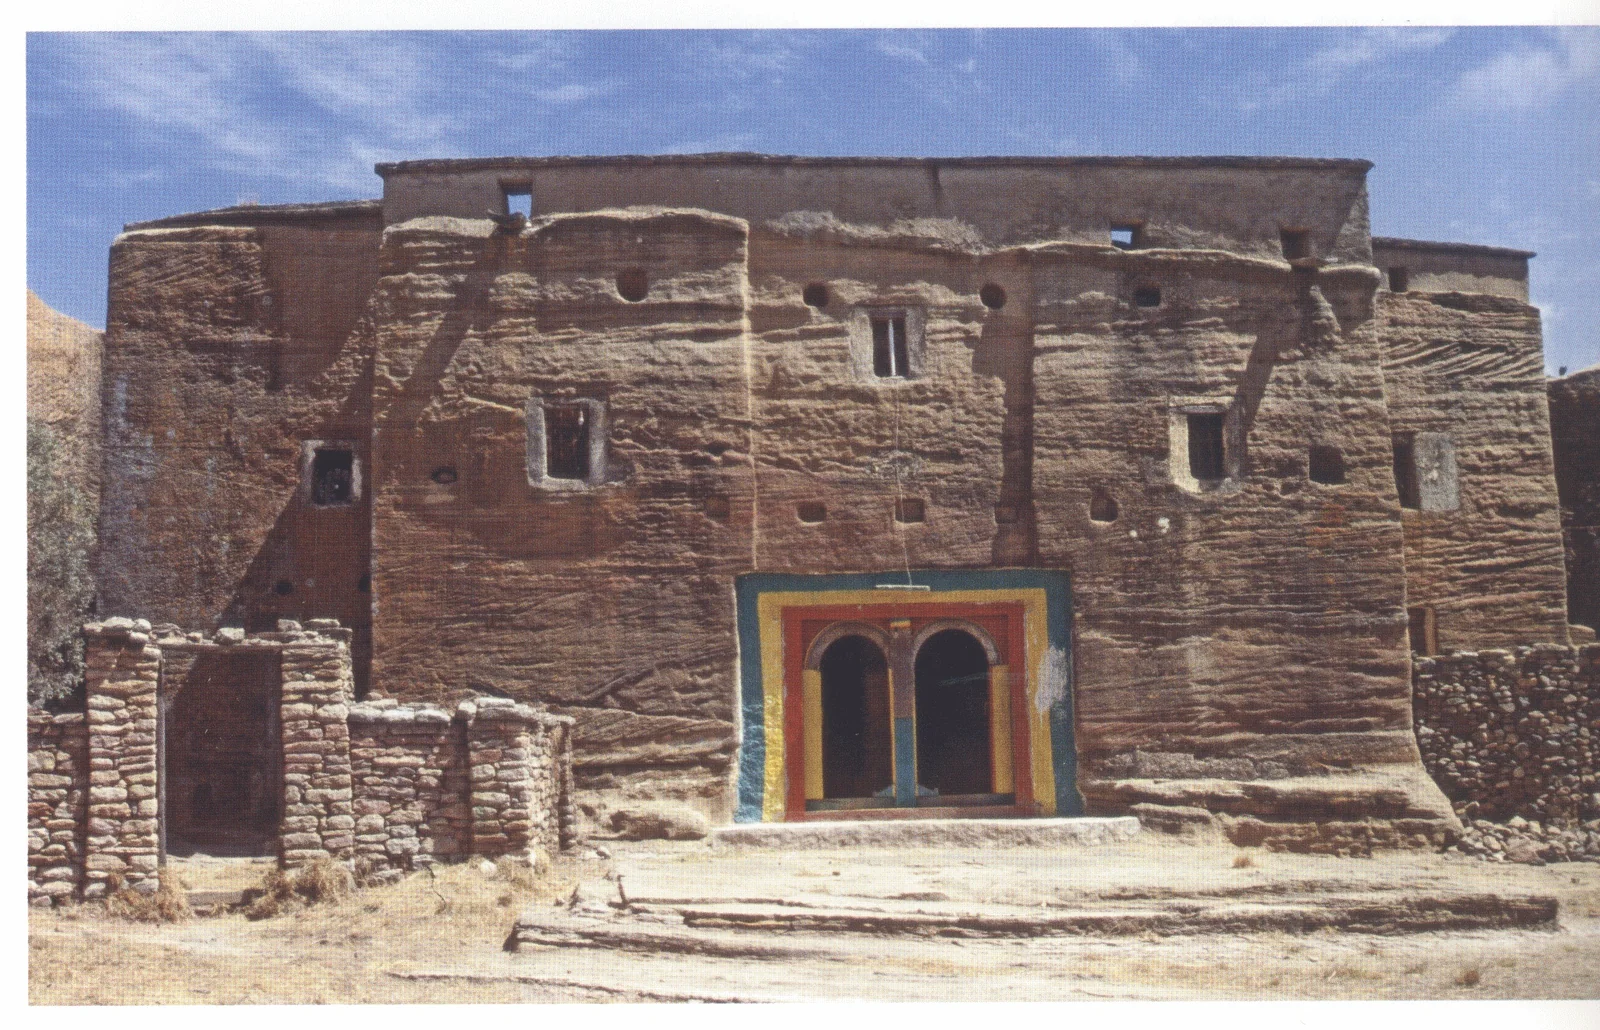
Mika’el Amba, the west façade, showing late twentieth-century alterations to the doorway, 2006.
 Ancientarchitecture
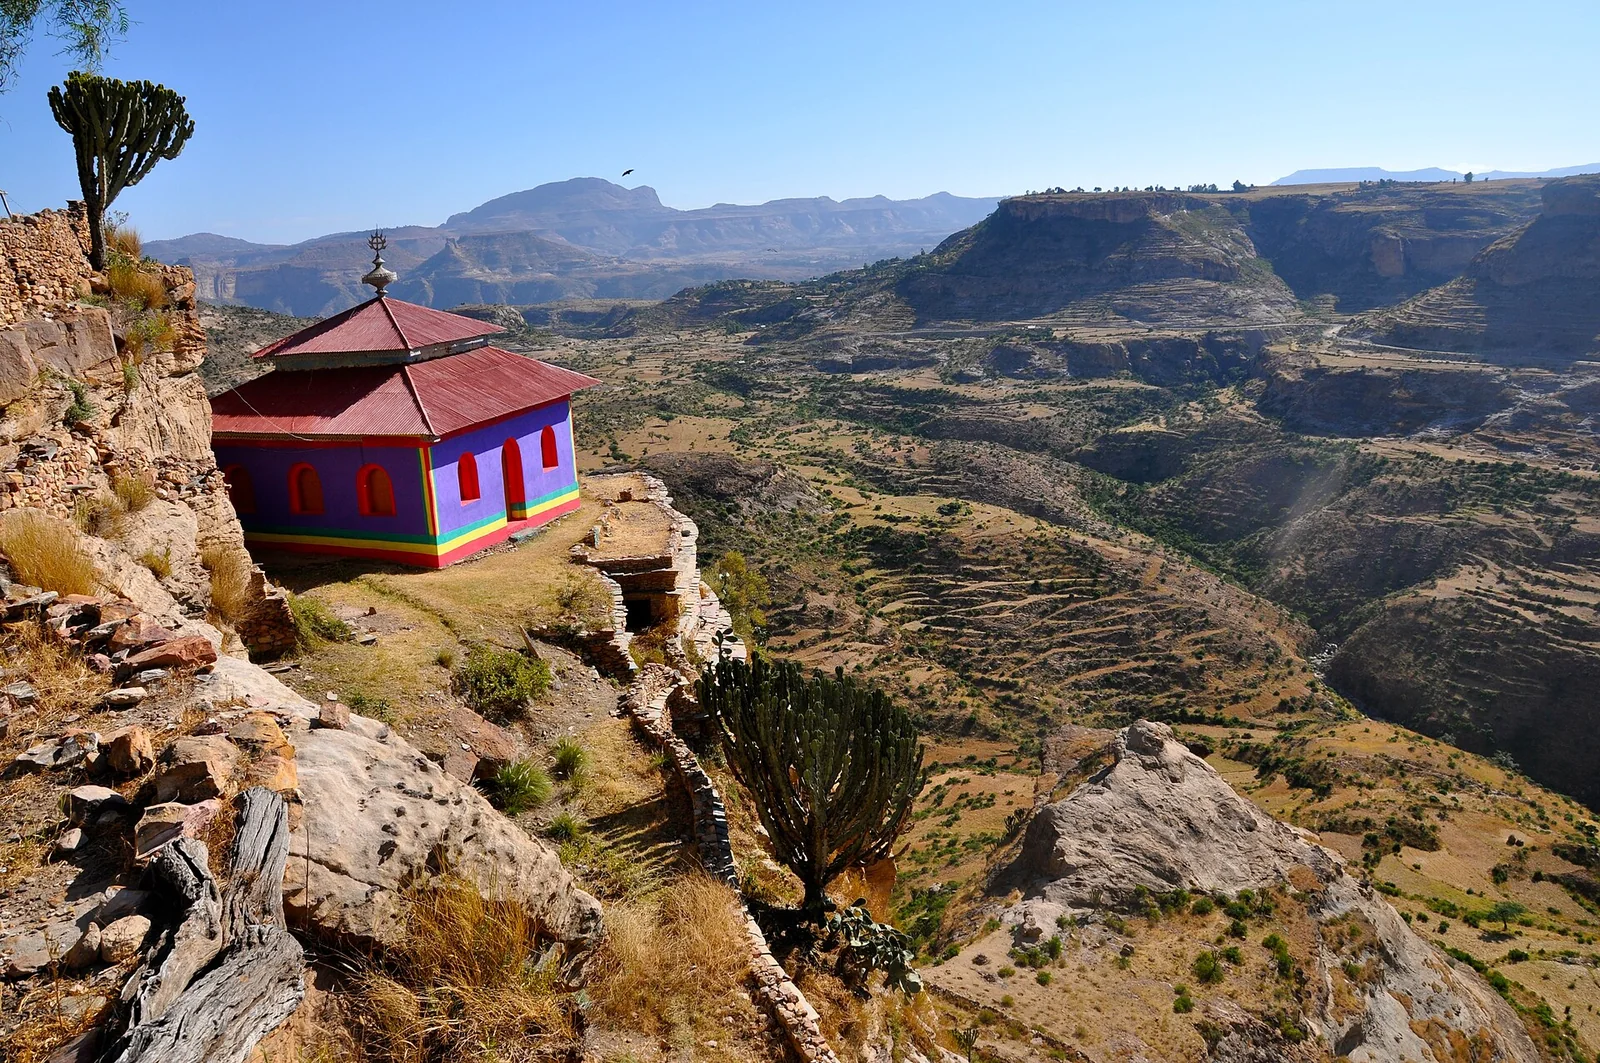
The monastery of Debre Damo on its sheer-sided amba, reached only by rope; its main church is held to be the oldest standing built church in Ethiopia, in classic Aksumite wood-and-stone construction.
 Medievalarchitecture
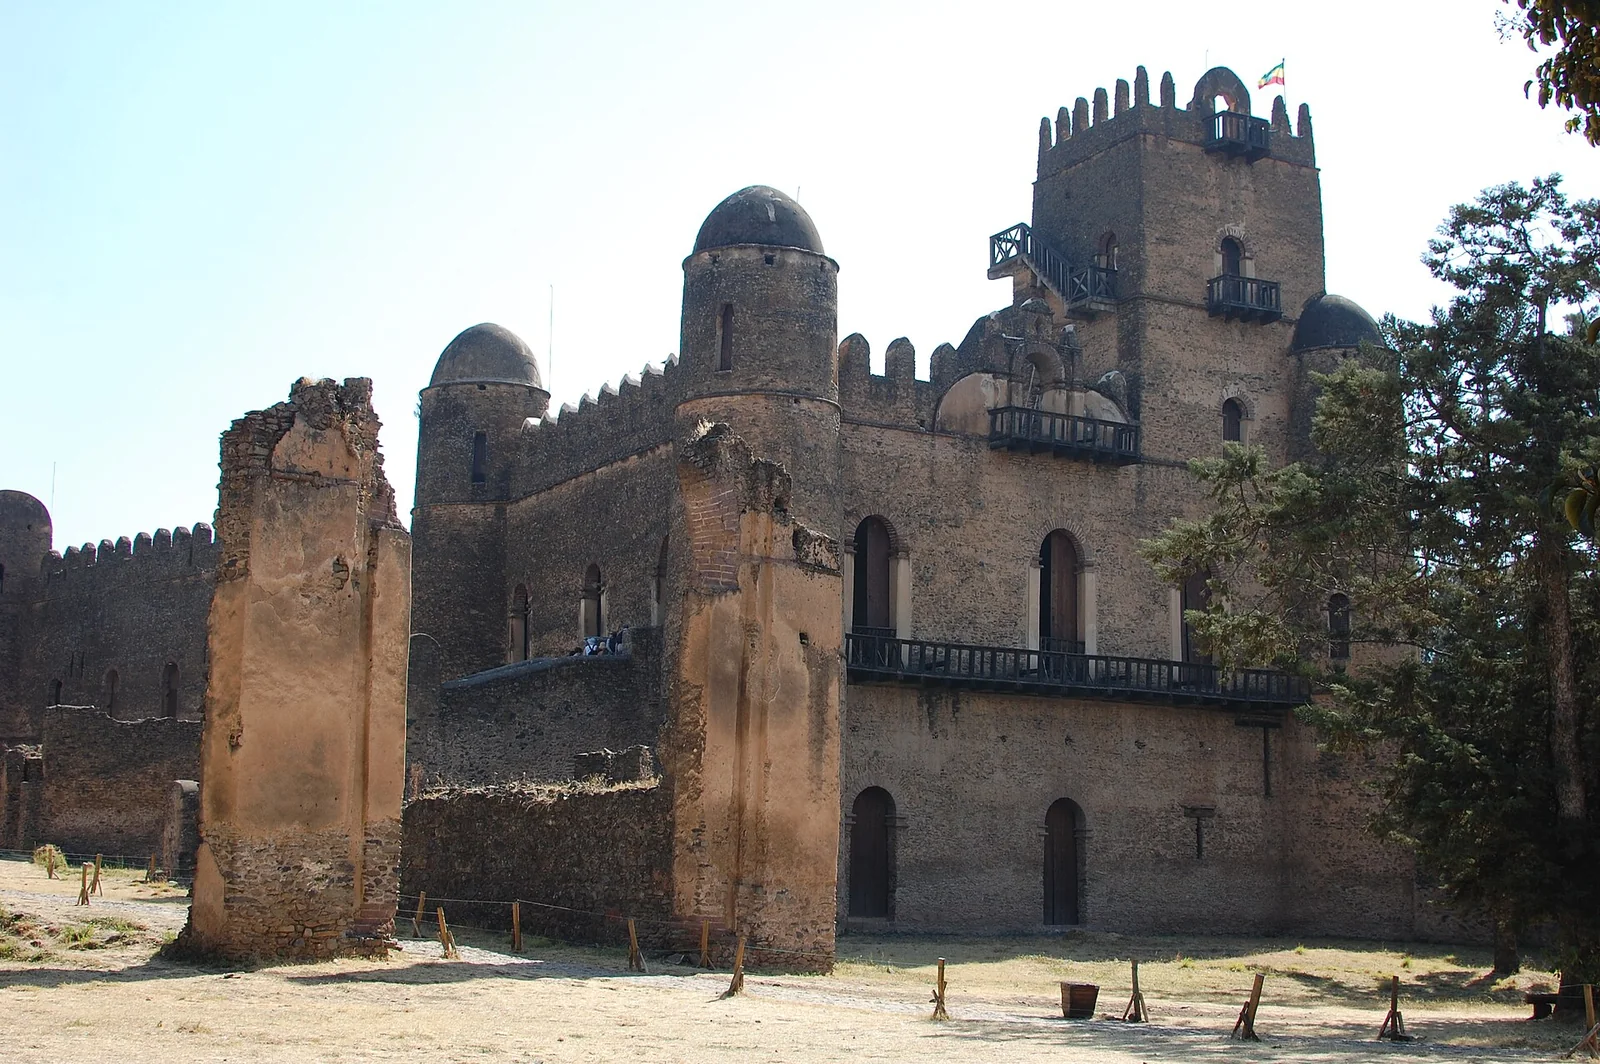
The castle of Emperor Fasilides at the heart of the Fasil Ghebbi in Gondar, a two-storey basalt keep with domed corner towers and battlemented parapets.
 Medievalarchitecture
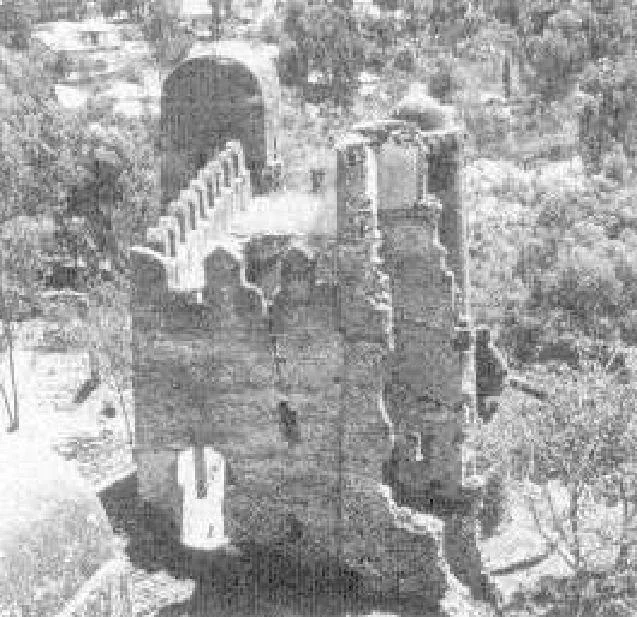
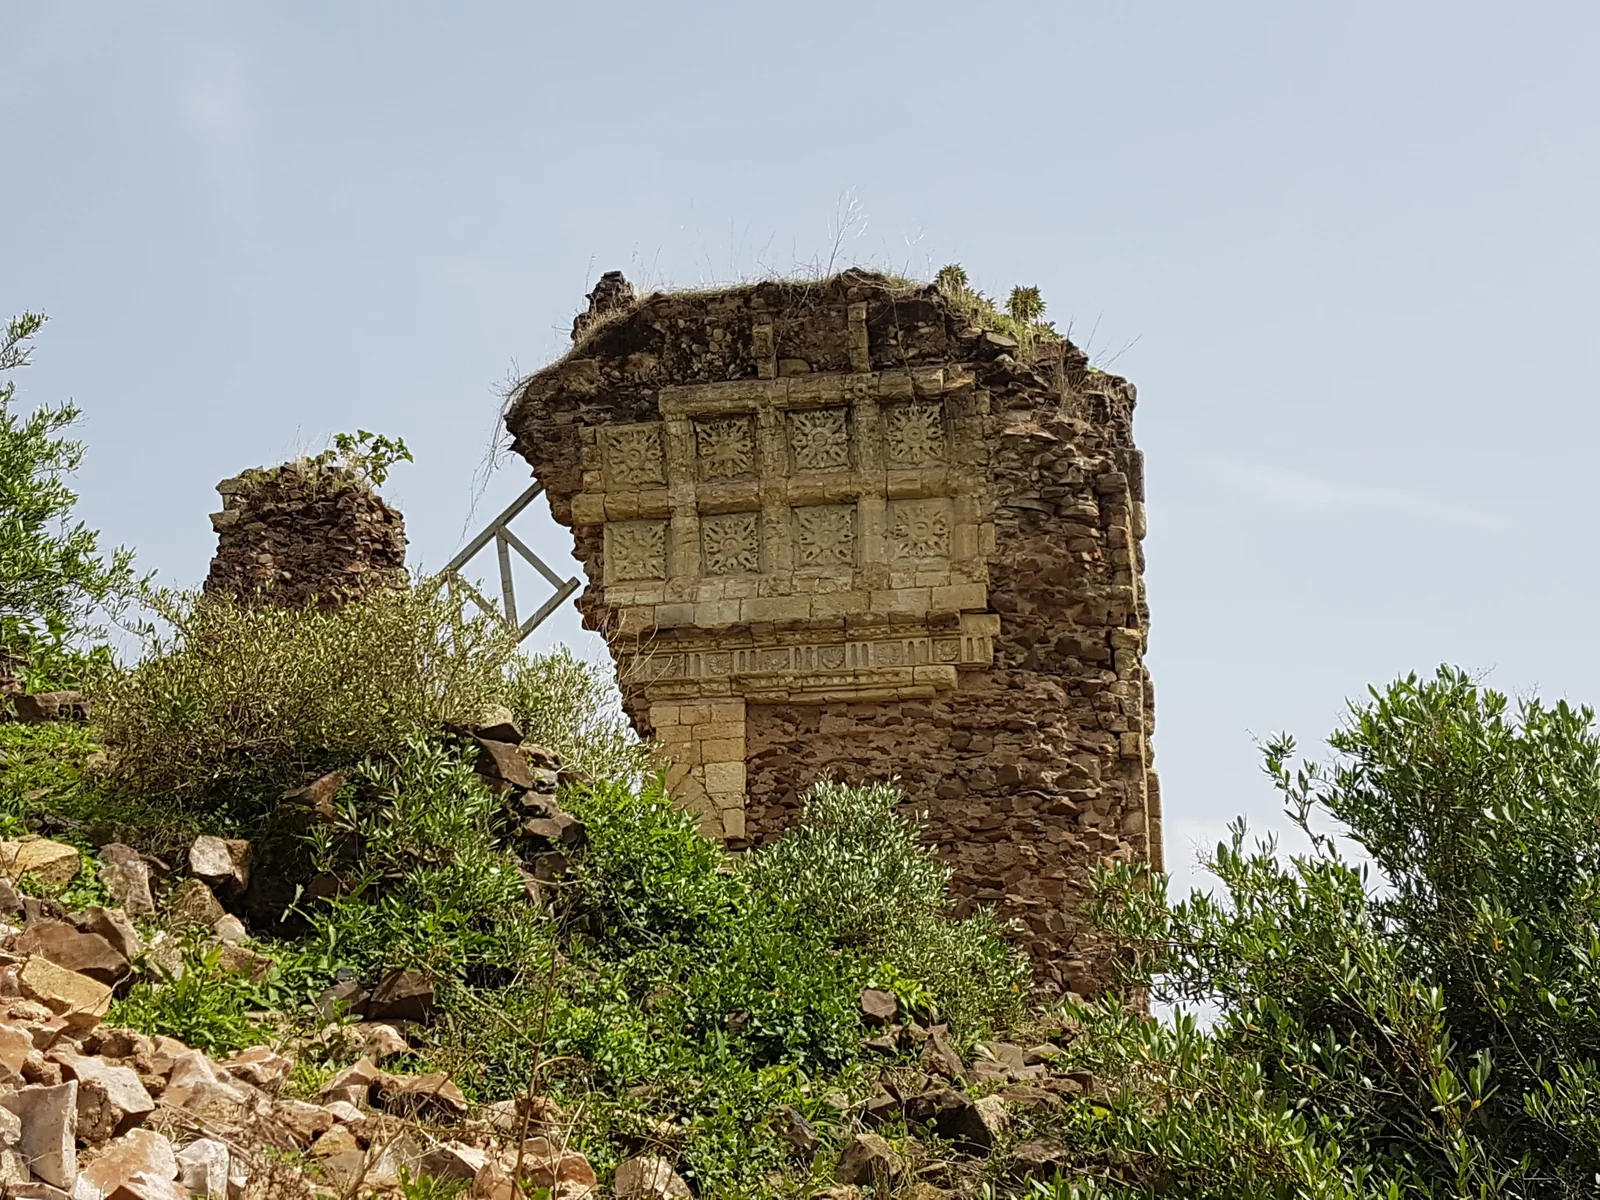
Detail of a crumbling castle, Gonder
 Medievalarchitecture
Church roof vault at Gorgora Nova, since collapsed (photograph by A. González-Ruibal)
 Medievalarchitecture
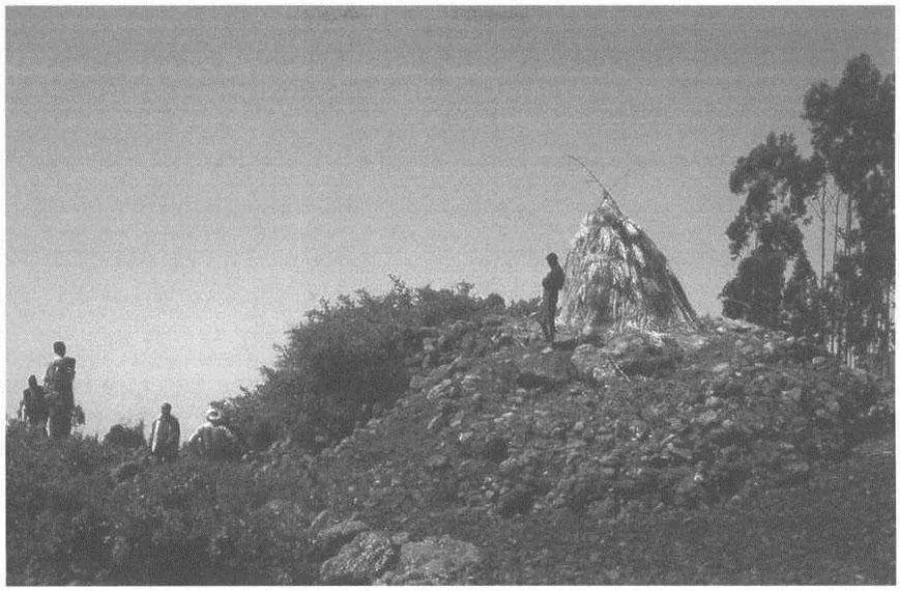
Mähal Wänz: possible couloir couvert de grosses pierres du tumulus
 Ancientarchitecture
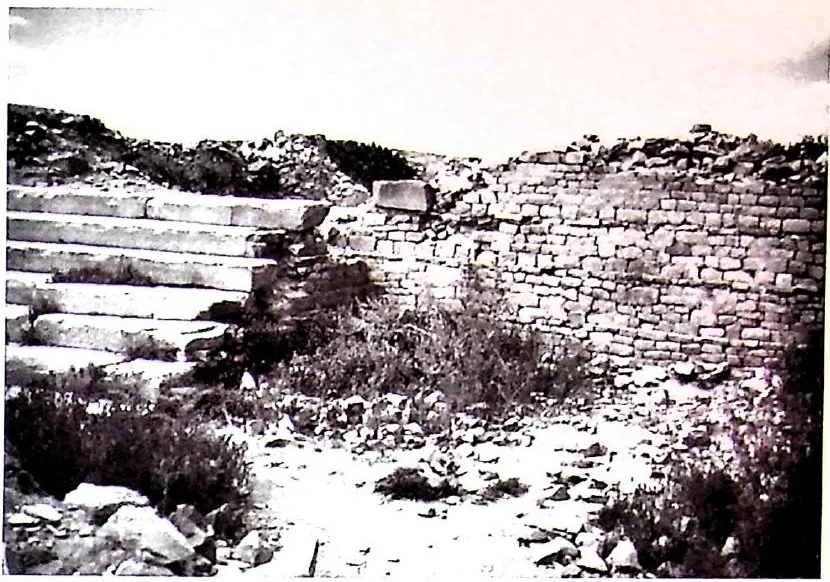
Abb. 7. Eine der „Villen“ von Matara mit angelehnter Treppe, die zum Mittelbau empor führt (Foto: St. Wenig 1995).
 Ancientarchitecture
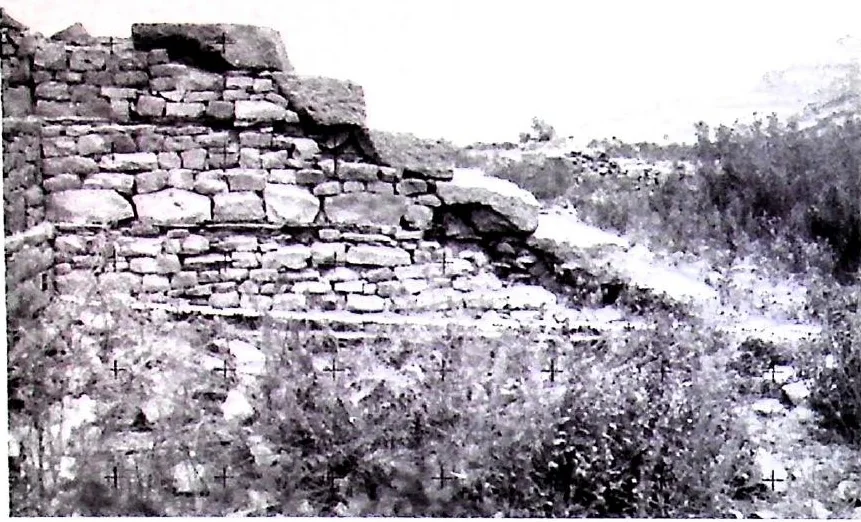
Abb. 1. Matara: Messbild der Freitreppe von Zentralbau „B“.
 Medievalarchitecture
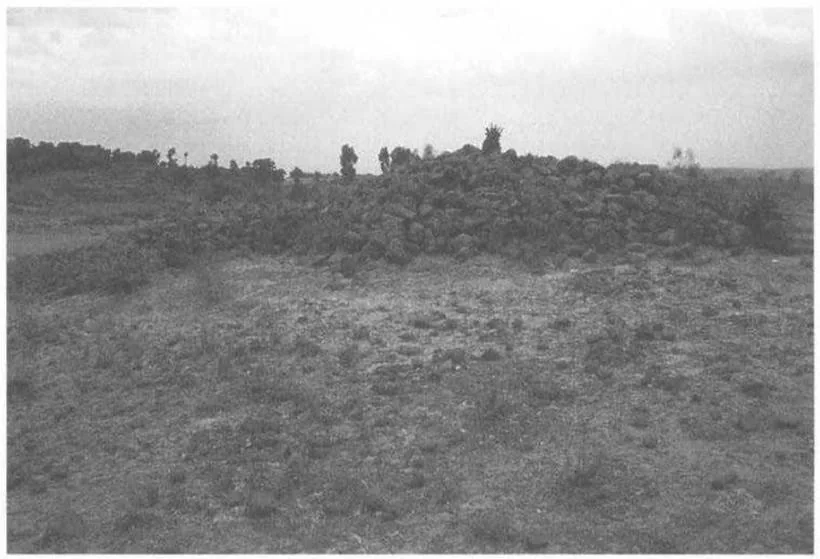
Tumulus 2 de Meshalä Maryam. Vue du tumulus immédiatement avant la fouille, en direction du SO. L'église de Meshalä Maryam se situe en arrière-plan, à gauche, dans son bois de genévriers géants. La vallée de la Šay est en contrebas du cliché, du côté droit
 Ancientarchitecture
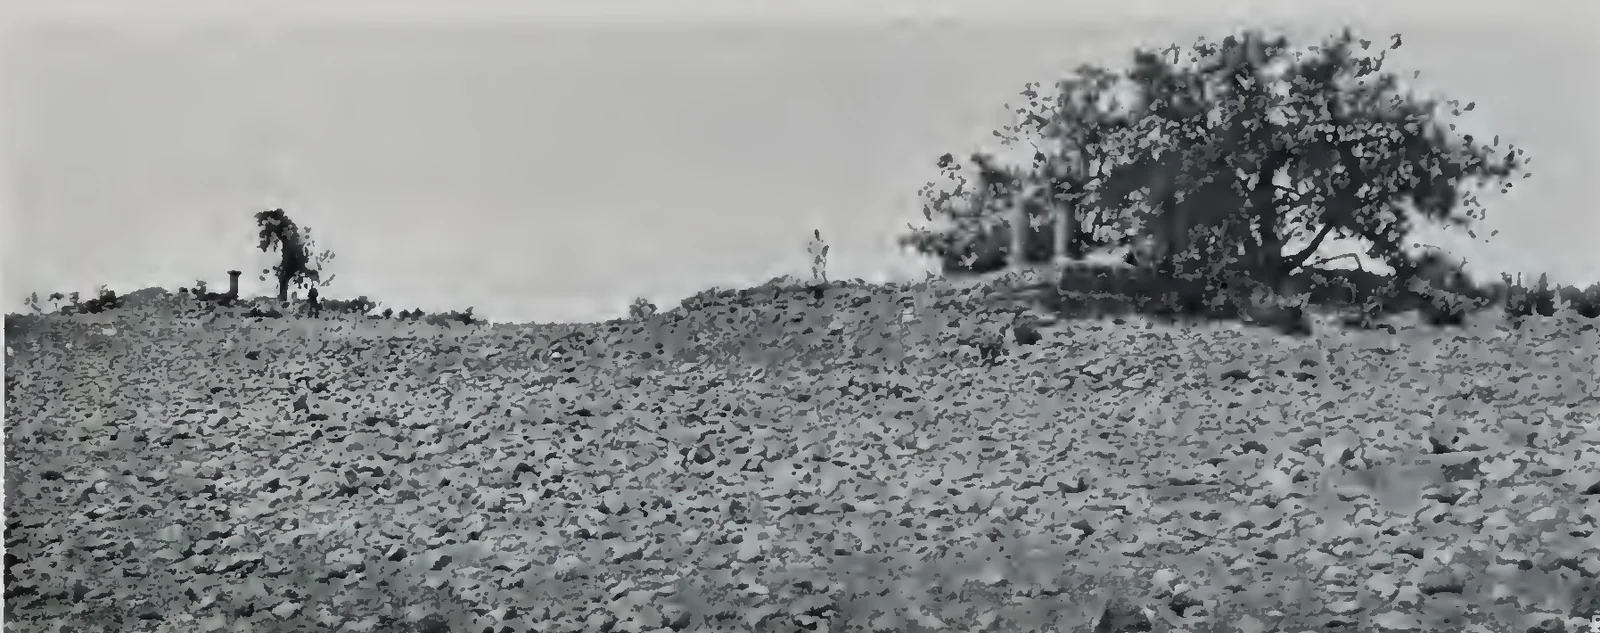
Abb. 321. Kohaito. Rechts Ruine 6, links im Hintergrunde Ruine 7. Blick von Nordosten. Abb. 322. Kohaito. Ruine 6. Blick von Nordosten. Abb. 325. Kohaito. Ruine 7. Blick von Südwesten. Im Hintergrunde links Ruine 6.
 Medievalarchitecture
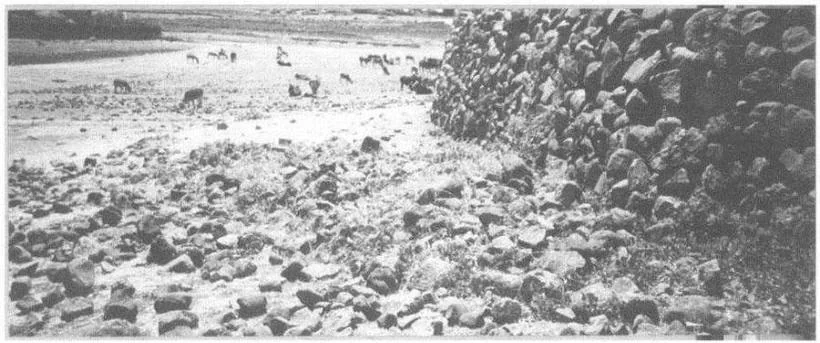
Qopros. Vestiges arasés d'un tumulus ancien, dépassant au sud du mur d'enceinte récent
 Medievalarchitecture
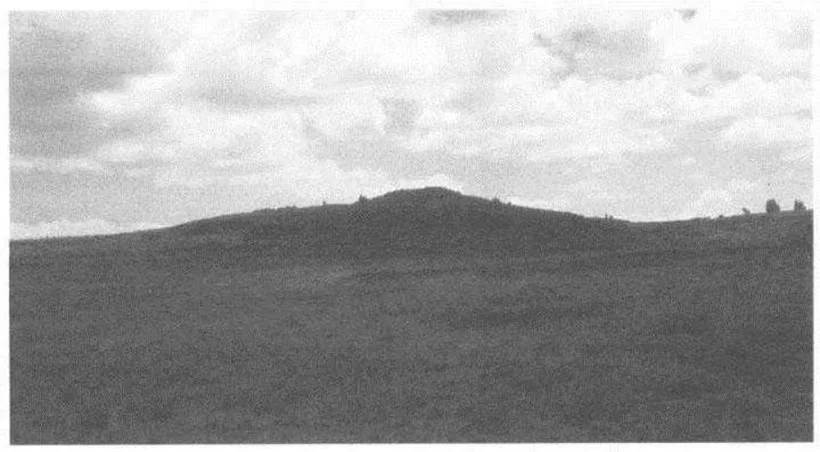
Vue du tumulus de Tätär Gur depuis la vallée de la Šay
 Medievalarchitecture
L'église d'Urā Masqal, réemployant des vestiges de l'ancienne église: pilier monolithique, fenêtres en pierres ajourées, caissons de bois sculpté à motif géométrique
 Ancientarchitecture
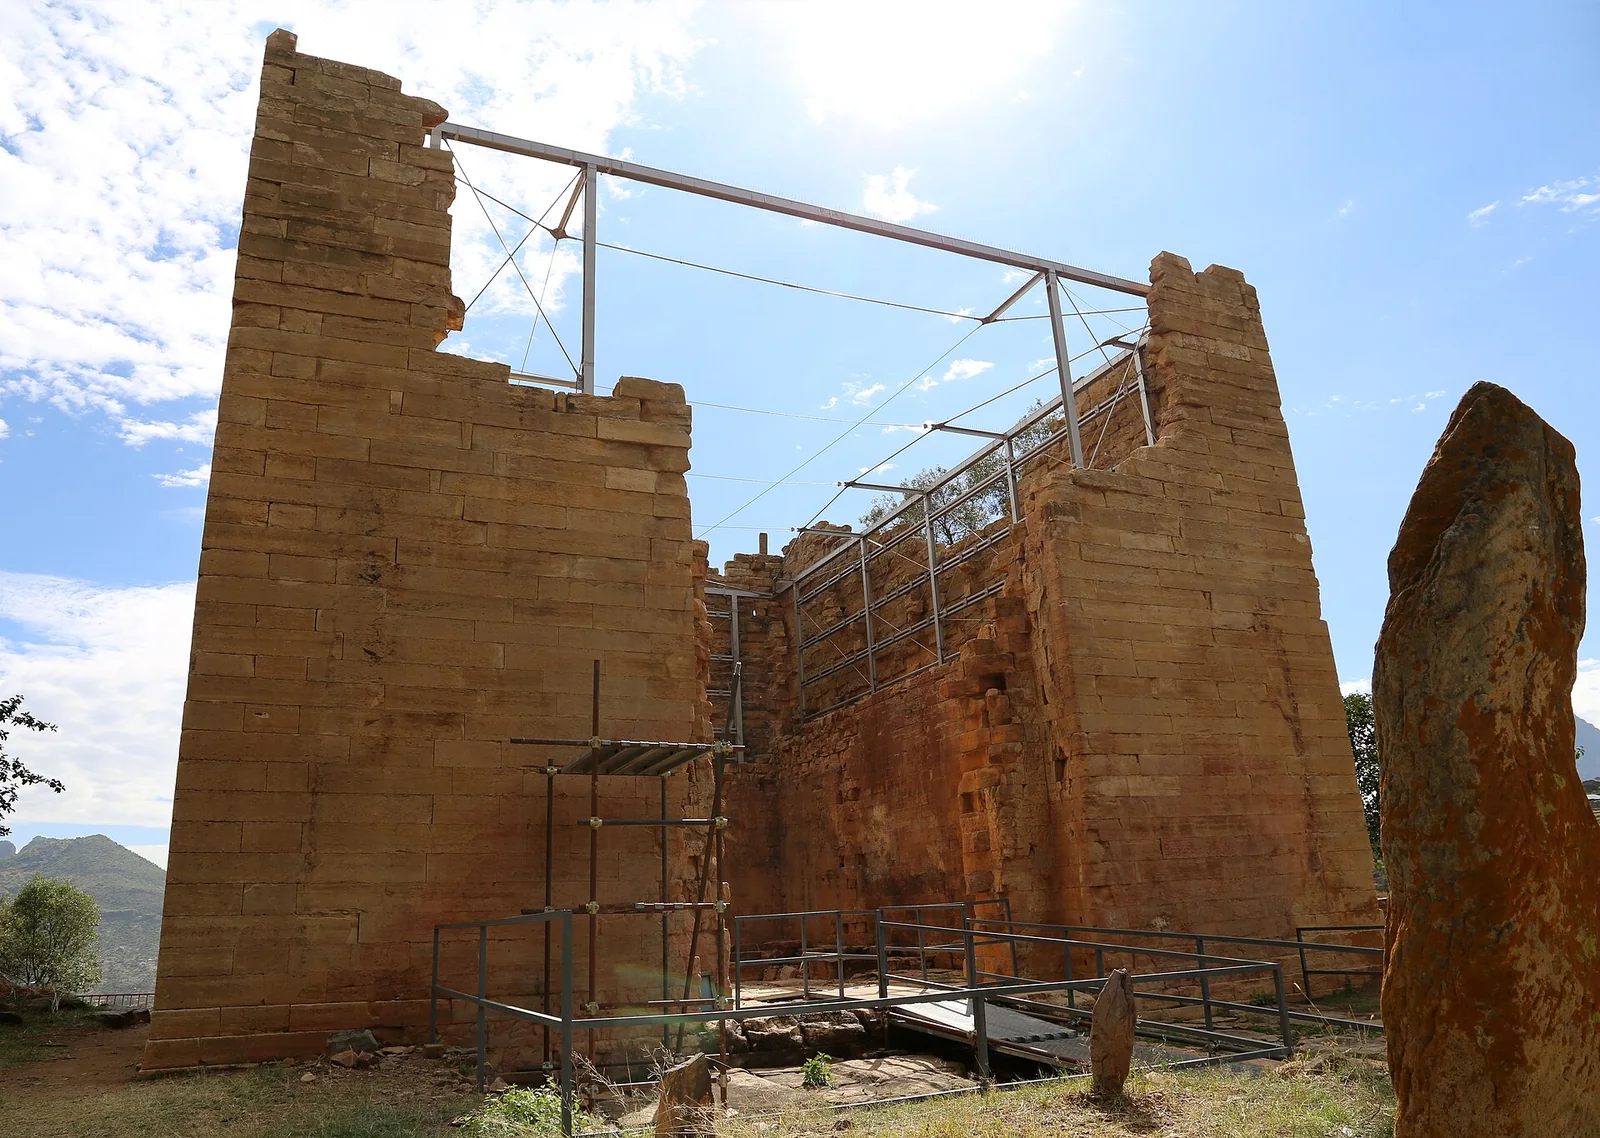
The Great Temple of Yeha, a windowless tower of finely dressed ashlar standing to some 14 m — the oldest standing structure in Ethiopia, built for the Sabaean-influenced polity of Diʿamat.
 Medievalarchitecture
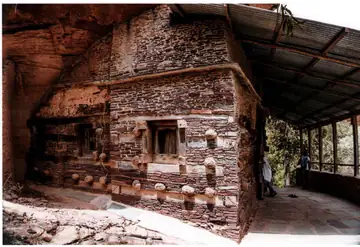
The east elevation of a half-timbered church near Aṣbi records the continuity of Aksumite building practice.
 Modernarchitecture
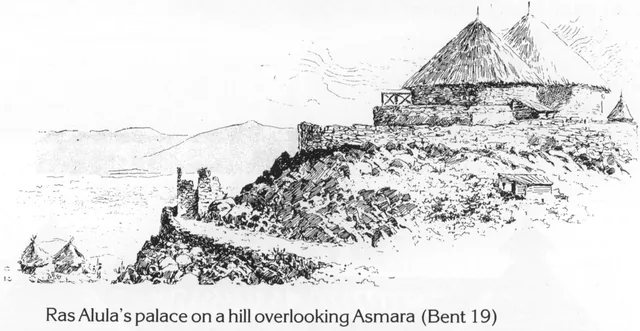
A sketch of the hilltop palace of Ras Alula with thatched-roof buildings overlooking the town of Asmara.
Showing 48 of 233